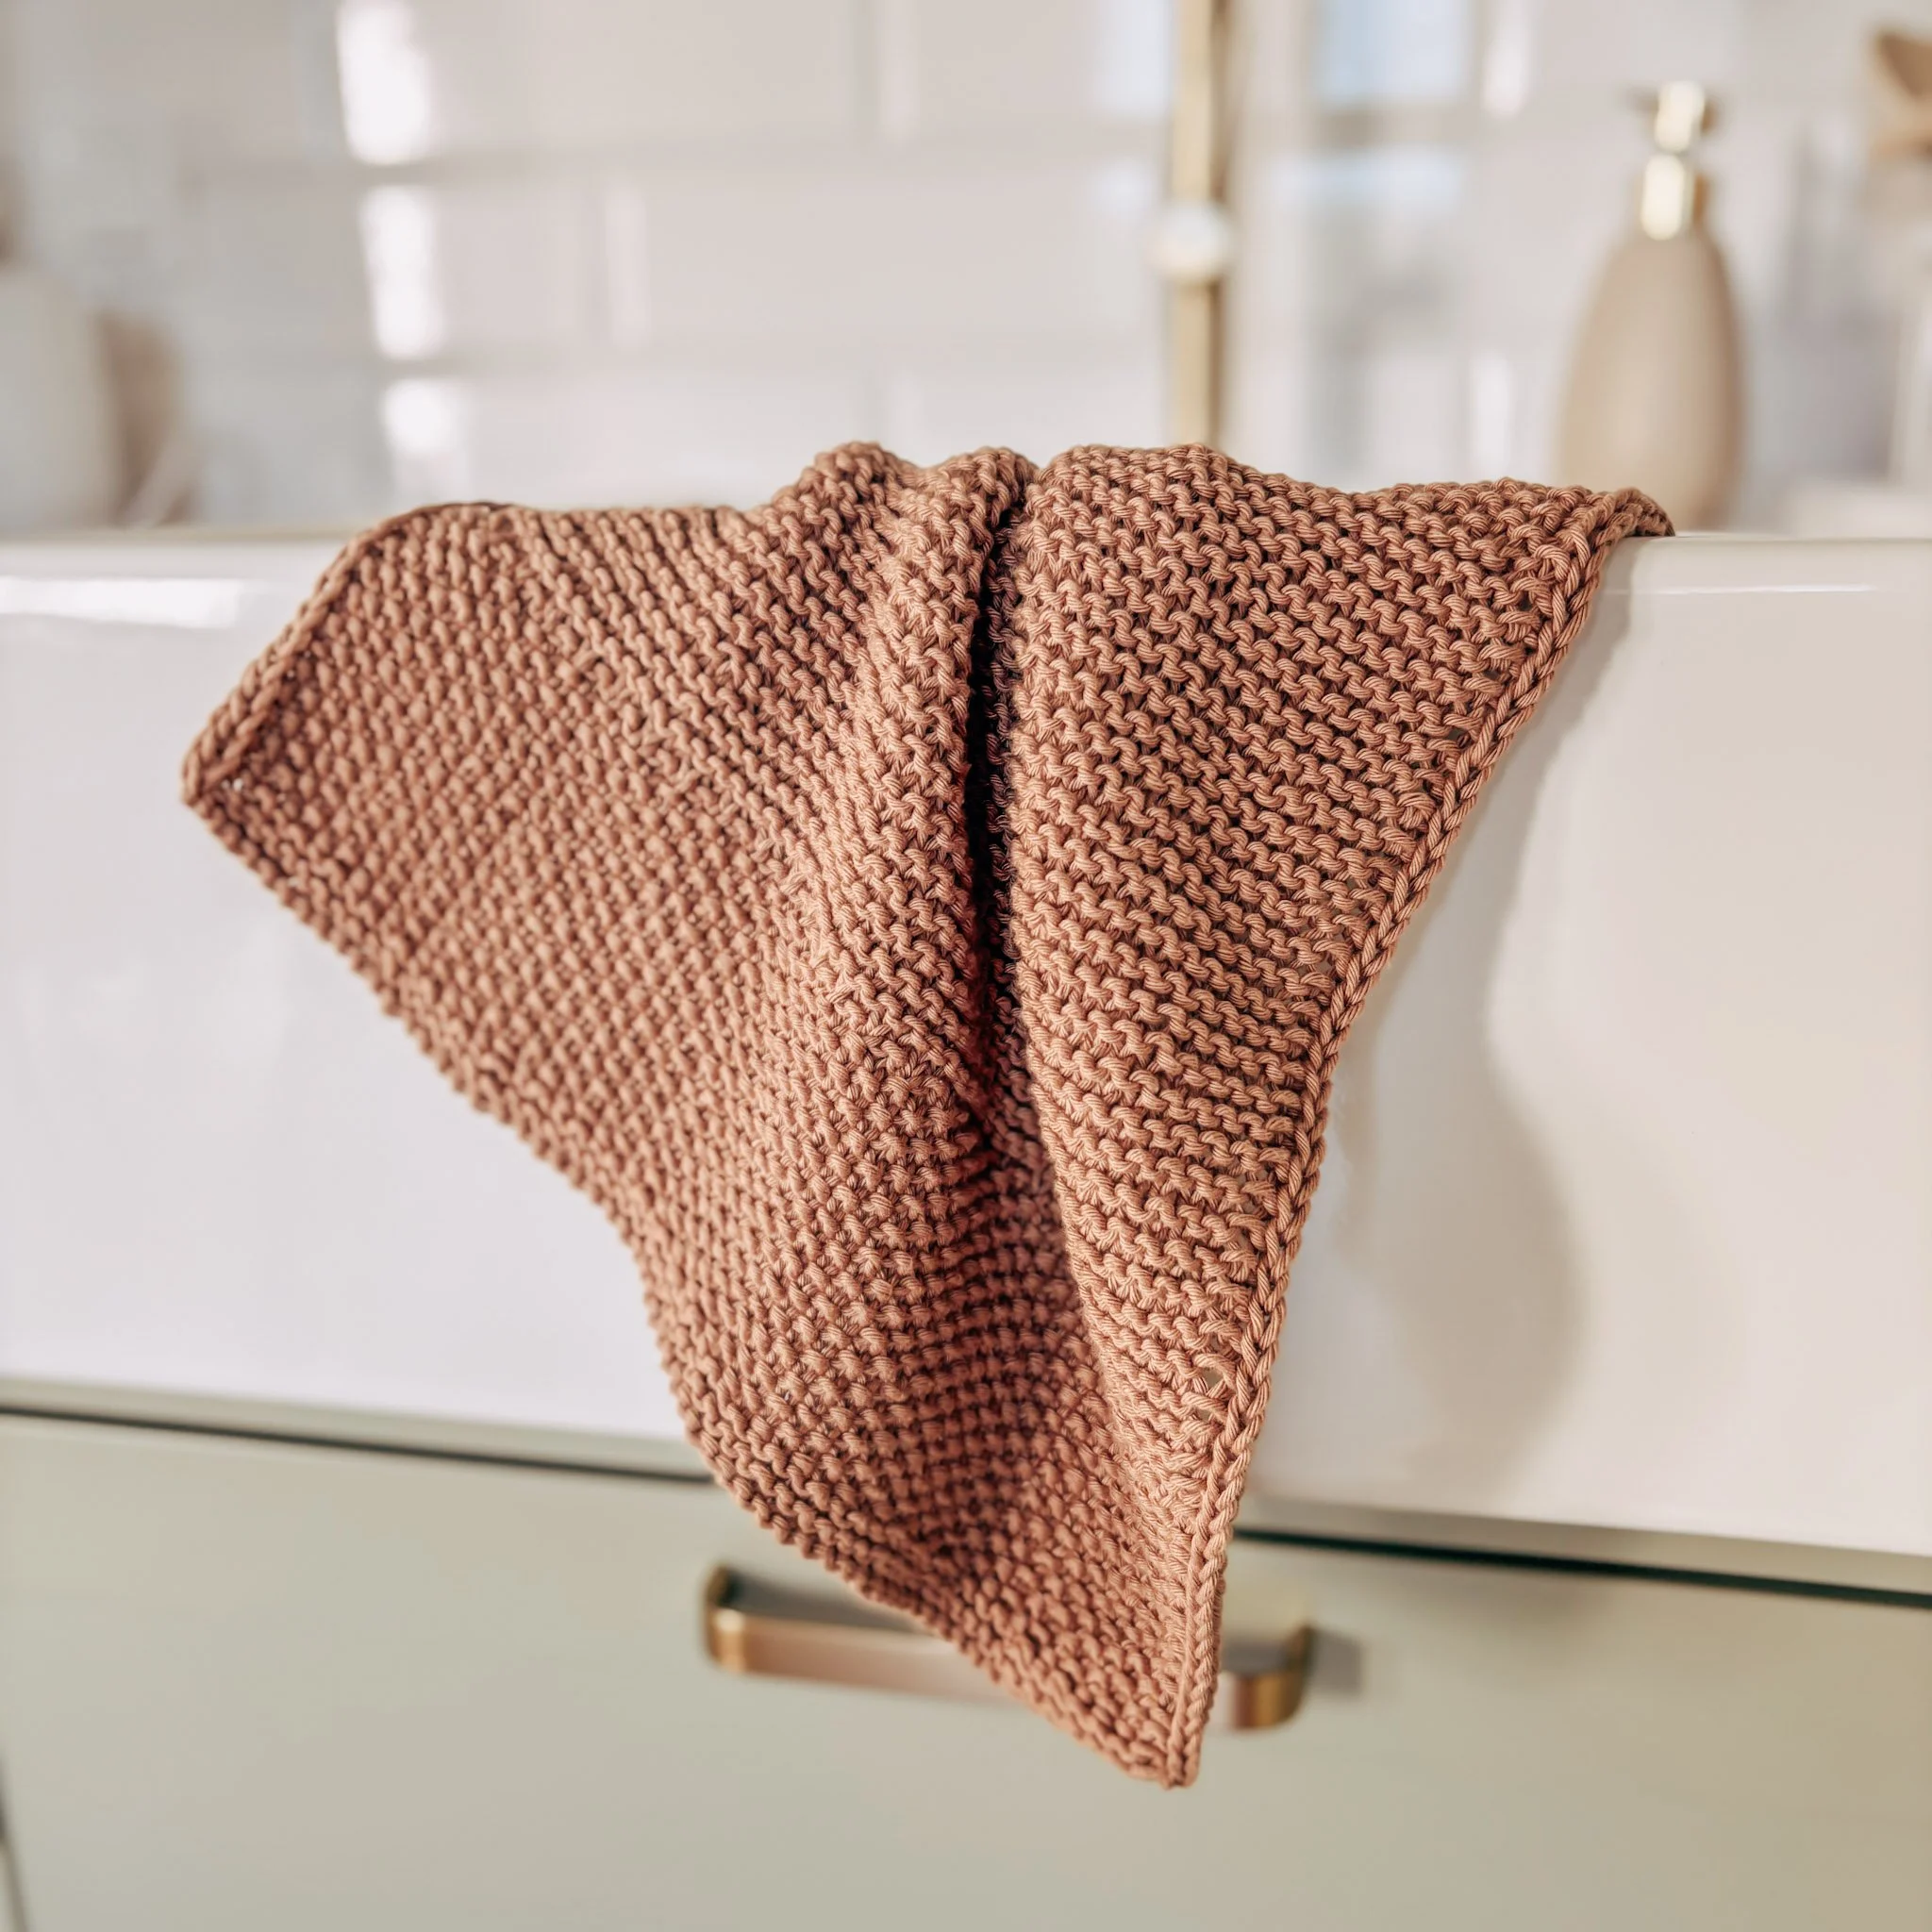
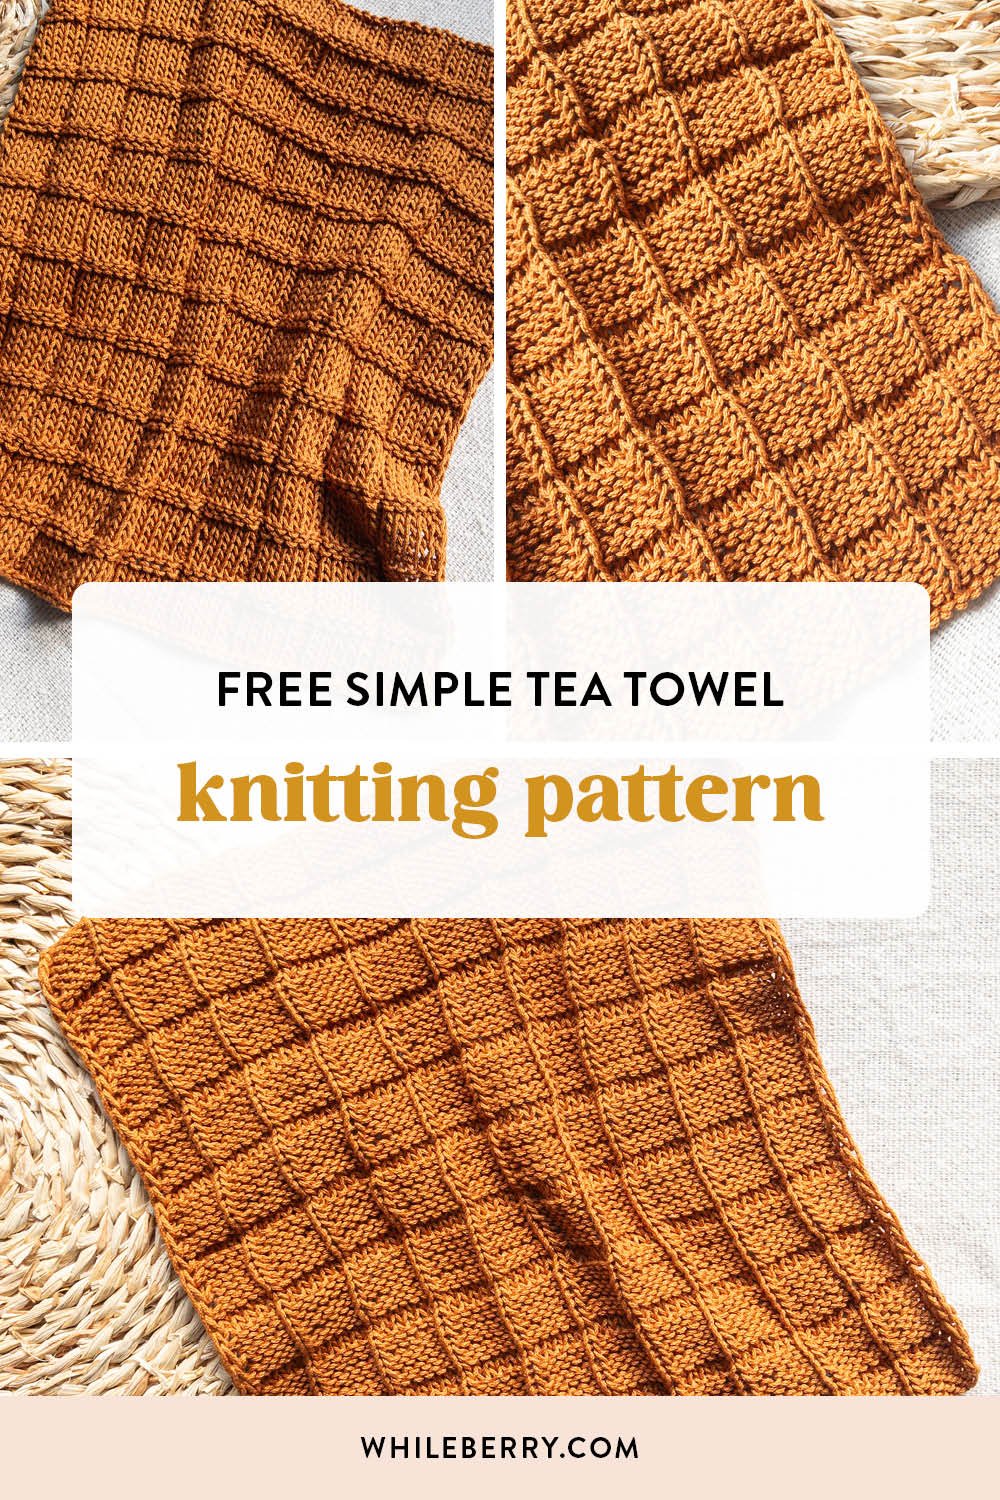
Waffle Tea Towel Knitting Pattern
Today let's knit a checkered tea towel - which makes a lovely set with the Waffle Dishcloth! This set would surely be a big hit as a handmade gift this season. Checkered pattern is so classic, it will probably never go out of style - so it will be a safe choice for any style of kitchen. If you're in need of a quick gift knit idea, read on!
This post contains affiliate links that support the content on this blog.
PIN IT NOW & MAKE IT LATER!
GET THE WAFFLE TEA TOWEL:
Waffle Tea Towel Free Knitting Pattern
If you haven’t knit from a knitting pattern yet - I highly recommend you check out my post on reading knitting patterns here - it will help you follow the instructions smoothly!
You can access a resource library here. It contains lots of helpful info on: how to read patterns and charts, how to substitute yarn, swatch, block and take care of your knits as well as techniques resources.
© Whileberry 2023. Please keep in mind that this pattern is for personal use only, and both the pattern and photos can’t be copied or reproduced on another website.
sizes
One size - width 36 cm (14.5”), length 41 cm (16.5”)
supplies
yarn
For this quick dishcloth I used Lion Brand 24/7 cotton in colorway Amber to create a matching set with the Waffle Dishcloth.
If you'd like to knit the dishcloth in a different yarn - you can choose any similar worsted weight (category 4 - medium) cotton yarn. A few options that should work fine for a dishcloth:
Yardage: approx. 170 m (186 yds).
needles
5 mm (US 8) straight or circular needles, or to fit gauge
other notions
Tapestry needle and scissors

gauge
17 stitches x 21 rows in 10x10 cm (4x4”) in modified waffle stitch, blocked
Modified waffle stitch: worked over multiple of 6 + 5 sts. Work Rows 1-8 until you reach desired length of swatch.
Row 1 (WS): *k5, p1* until 5 sts left, k5.
Row 2 (RS): *p5, k1* until 5 sts left, p5.
Row 3 (WS): same as Row 1.
Row 4 (RS): same as Row 2.
Row 5 (WS): same as Row 1.
Row 6 (RS): same as Row 2.
Row 7 (WS): p all sts.
Row 8 (RS): k all sts.
pattern notes
When slipping the stitches for the i-cord border, pay attention not to make an accidental yarnover when moving the yarn front/back.
As the tea towel is not a wearable item, gauge is not critical in this project - however if you can’t match the gauge listed, the towel will differ in dimensions and it may affect the yardage needed.
adding hanging loop
If you'd like to a add hanging loop to your tea towel, you can modify the pattern in finishing section as follows: bind off sts until there are only
2 left on the needles (1 on left needle and 1 on right needle), k1, slip both sts to the left needle. The loop i-cord will be worked over these last 2
sts. Work Row 1 until the cord measures approx. 10 cm (4”) or desired length.
Row 1 (RS): k2, slip the sts back to the left needle.
Bind off both sts and sew the end of the cord to the back of the tea towel corner to create the hanging loop. Note that adding the loop will increase the yardage by approx. 5 m (5 yds).
Row totals are noted in italic. Tutorials for specific techniques are linked and showing as yellow.
abbreviations
k - knit
p - purl
RS / WS - right side / wrong side
sl2wyib - slip 2 sts purlwise with yarn in back
sl2wyif - slip 2 sts purlwise with yarn in front
st(s) - stitch(es)
** - work instruction between asterisks given number of times or until given moment
instructions
Cast on 63 sts using a Long Tail Cast On, or another cast on method of your choice.
Work Rows 1-8 ten times, then work Rows 1-6 once more. (86 rows worked in total)
Row 1 (WS): sl2wyif, *k5, p1* until 7 sts left, k5, p2.
Row 2 (RS): sl2wyib, *p5, k1* until 7 sts left, p5, k2.
Row 3 (WS): same as Row 1.
Row 4 (RS): same as Row 2.
Row 5 (WS): same as Row 1.
Row 6 (RS): same as Row 2.
Row 7 (WS): sl2wyif, p until end of row.
Row 8 (RS): sl2wyib, k until end of row.

Finishing
Bind off all sts using a standard bind off, cut yarn and weave in ends. Block to dimensions.
I hope you enjoyed knitting your project! If you share your project on Instagram, please tag me with @whileberry.creative and #knitwithwhileberry so I can see your lovely knit!
MORE PATTERNS YOU MAY ENJOY: