How to Knit Cables: Beginner’s Guide
Cables are one of the most characteristic elements of knitting. Beautiful, thick, warm sweaters decorated with cables are always in style during winter - and will probably stay in style for years! While cables are beautiful, many knitters avoid knitting them, thinking they’re hard to knit and an advanced technique. Actually - the concept of knitting the cables is pretty simple in principle, and you can take up knitting cables even as an adventurous beginner or intermediate knitter! I’m sharing some cable knitting basics to get you started in this post.
This post may contain affiliate links that support the content on this blog.
PIN IT NOW & READ IT LATER!
Cable Knitting Basics
what are cables?
Simply put, cables are made out of stitches knit in modified order. You place a few stitches on a holder, work the next couple of stitches, and then return to work the stitches placed on the holder. As a result, stitches are crossed, forming a cable!
tools & supplies needed to work cables
To knit cables, apart from yarn and matching needles, you’ll need a separate needle to help you work the cables. Special cable needles are available on the market - they are small and designed specifically to hold the stitches. They come in multiple sizes and shapes - some are curved, while others are straight but with special grooves on the surface that help keep stitches. You can get one of those or use a single double-pointed needle to substitute. Whichever you choose - make sure that the size of this auxiliary needle is as close to your working needle size as possible, not to stretch the cable stitches, or so they don’t fall off easily.
types of cables
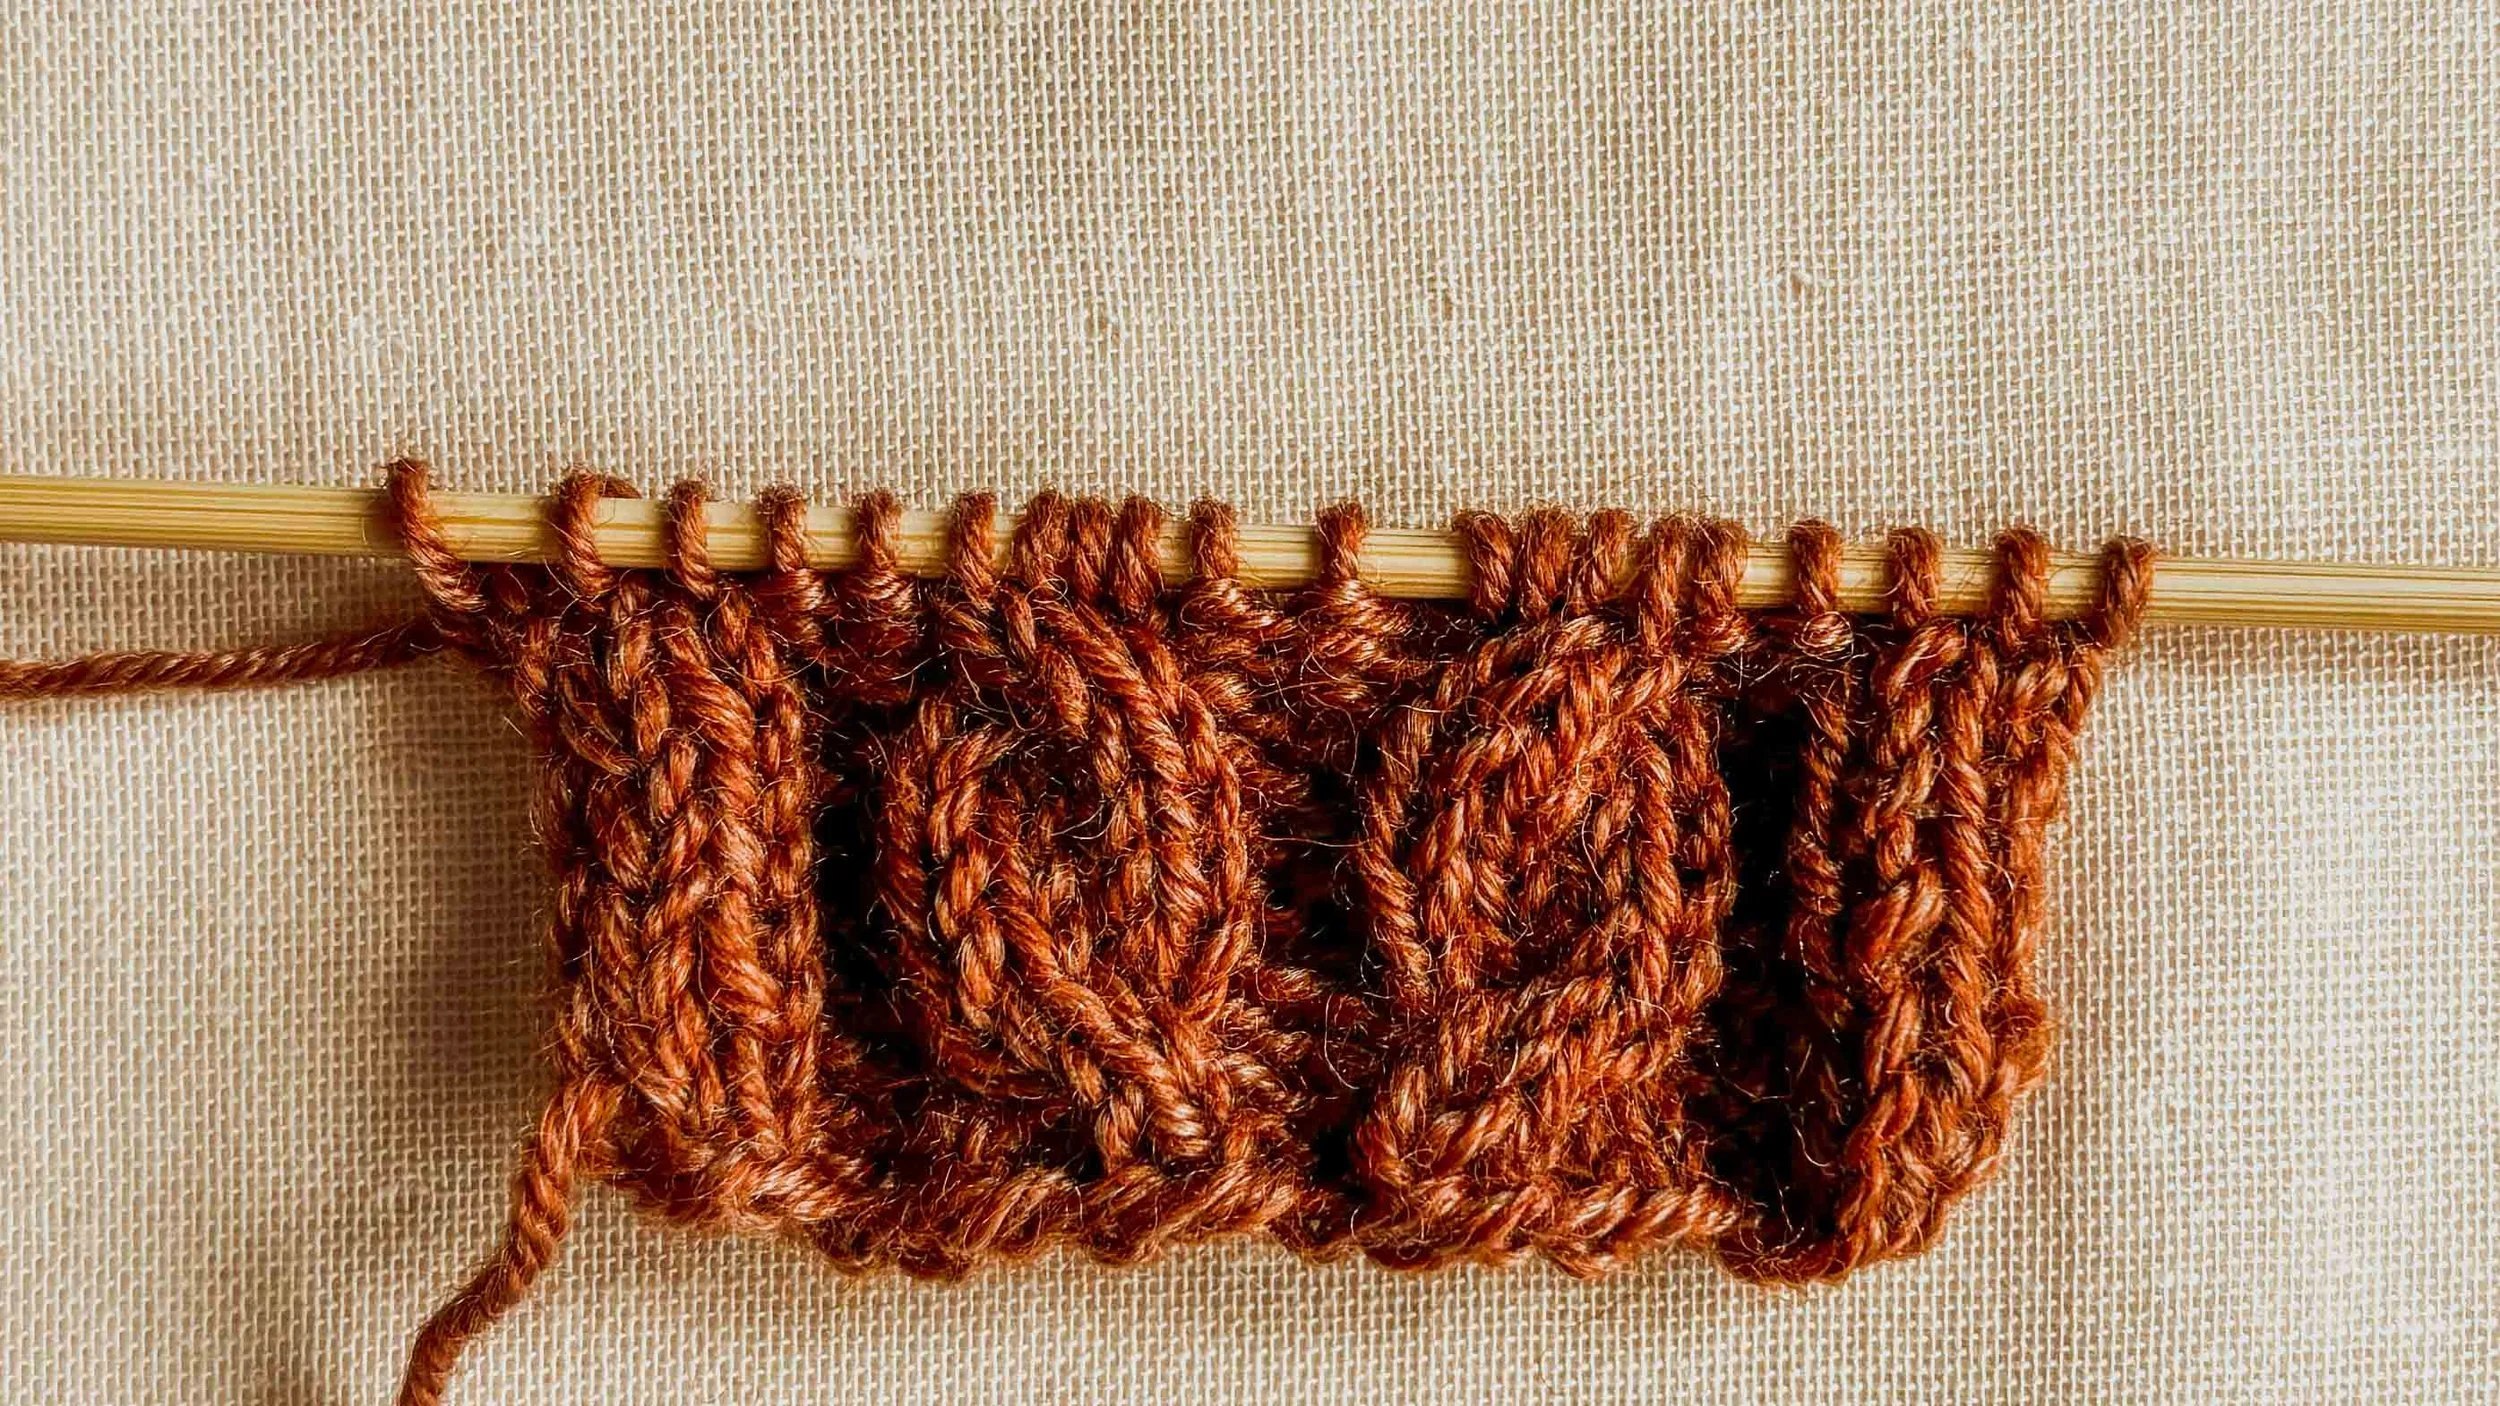
There are two types of cables: right-leaning and left-leaning cables. This means the stitches are either twisting to the right or the left. Look at the photo below: the cable on the right is right-leaning, and the cable on the left is left-leaning.
How to Knit a 2/2 Right-Leaning Cable Tutorial
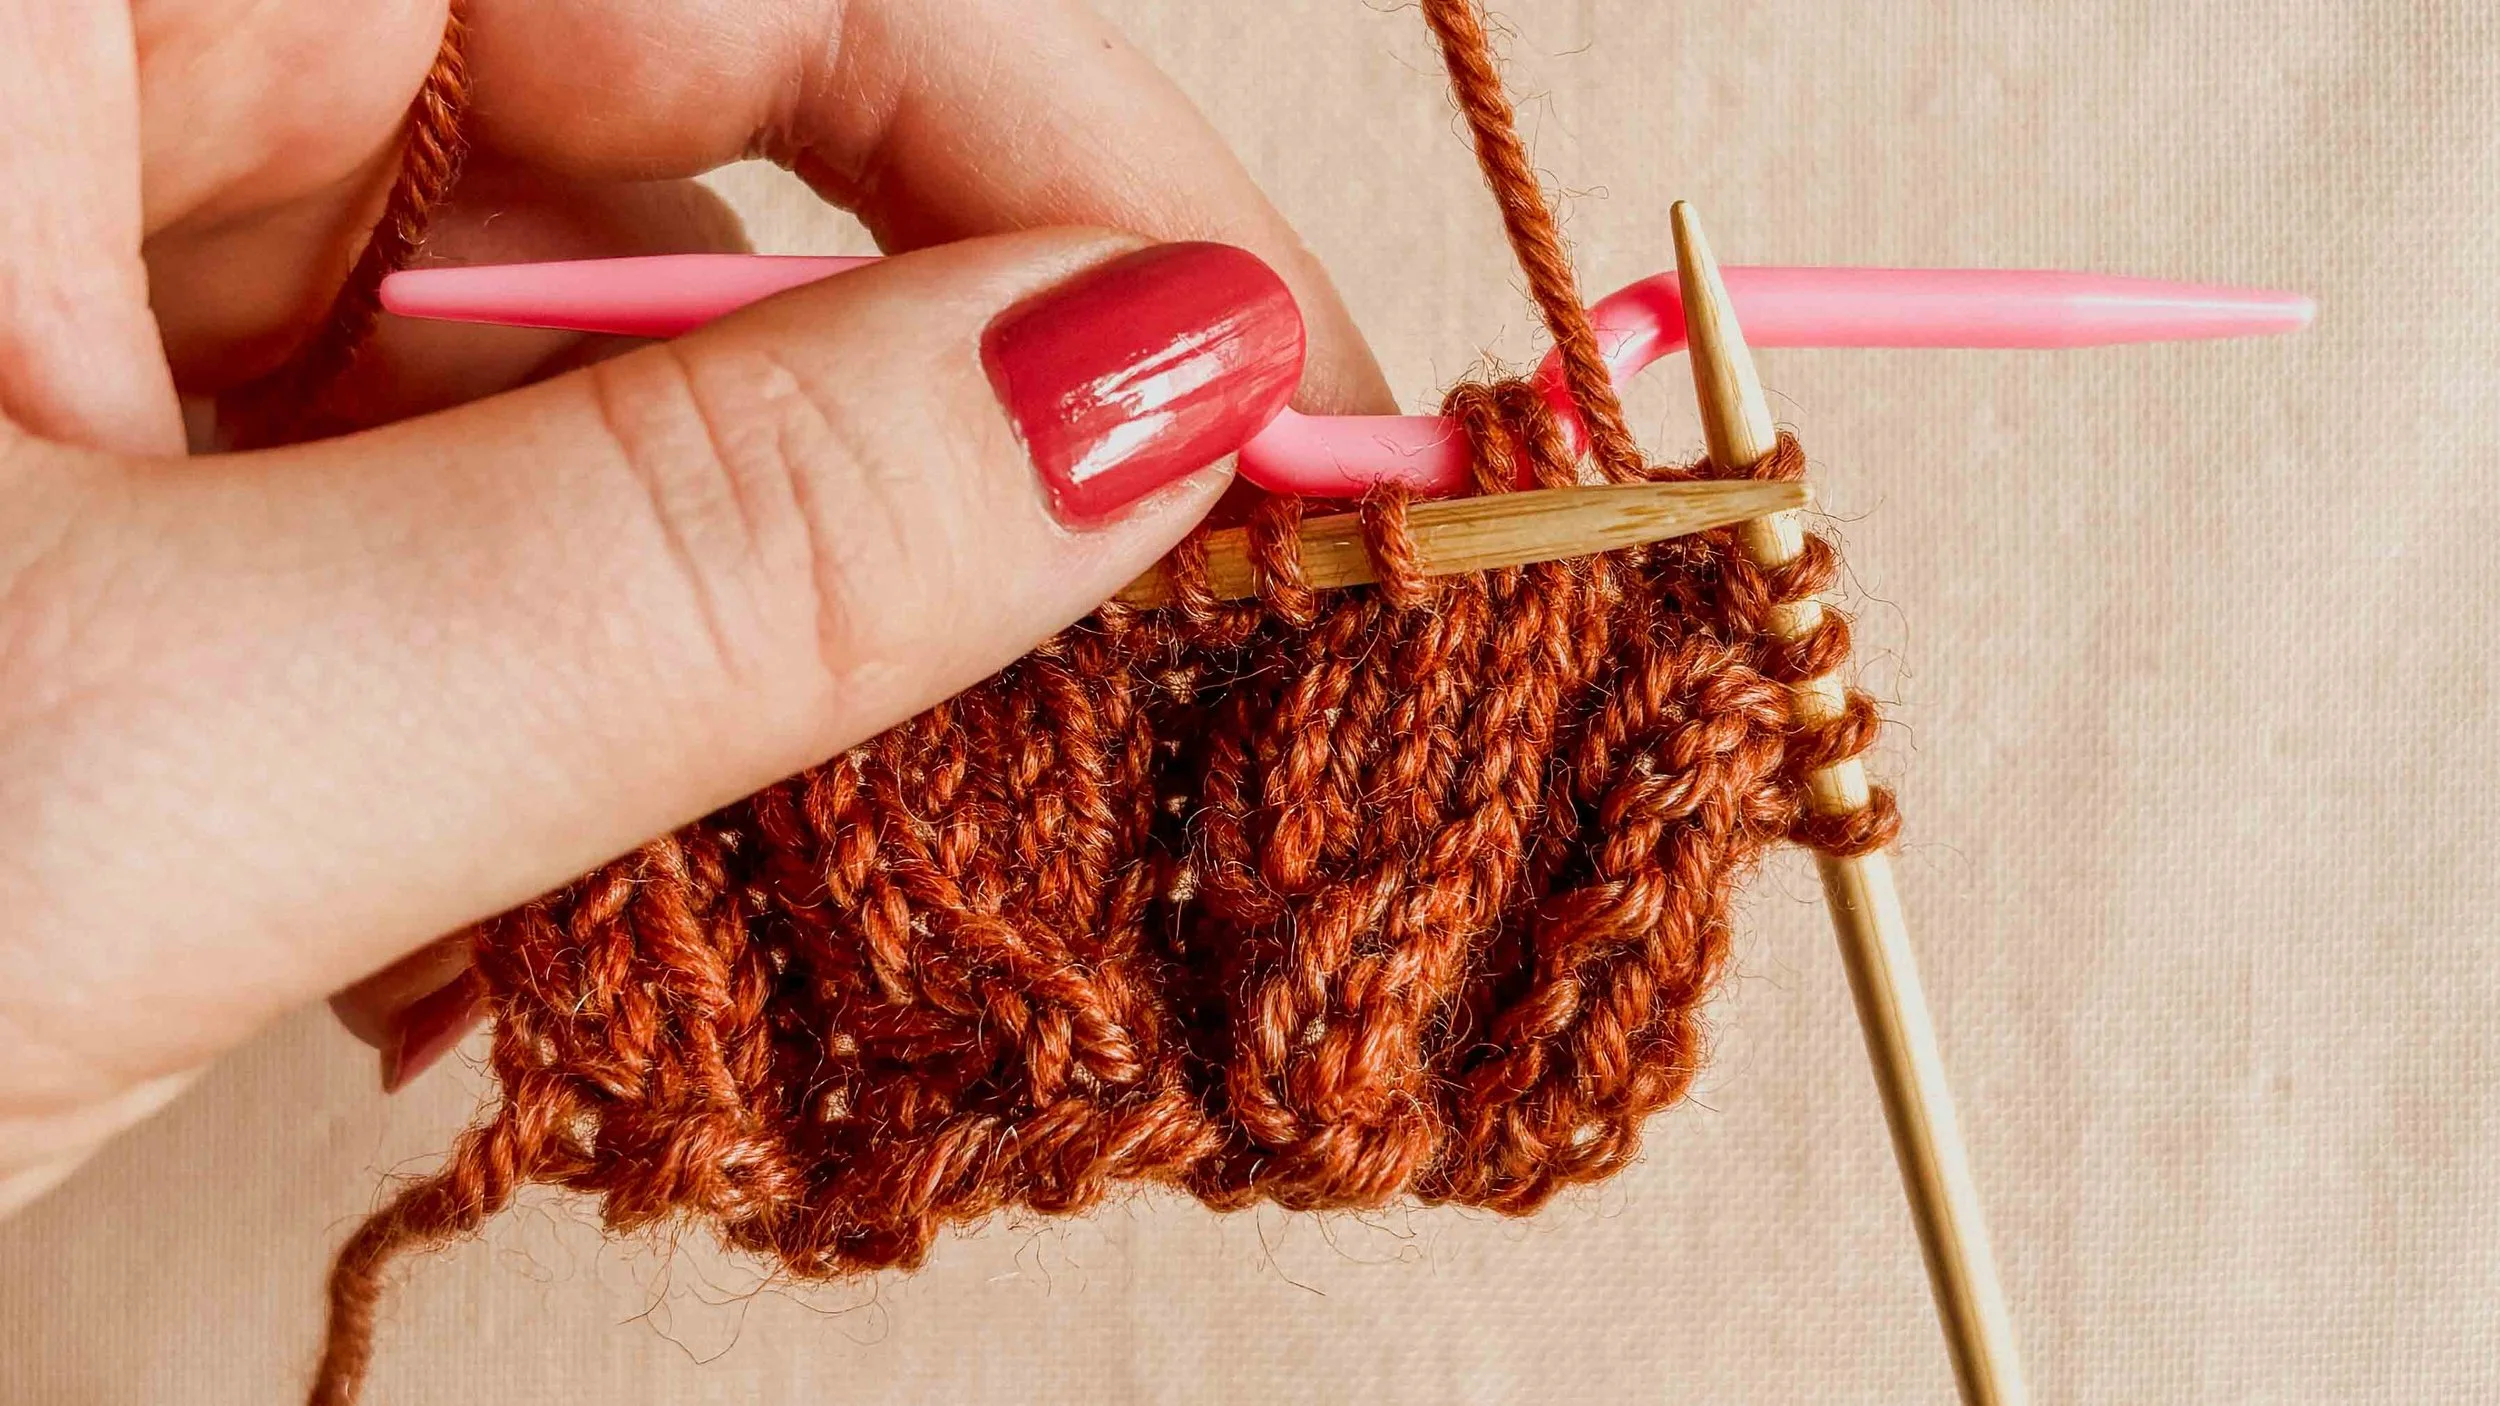
1 - Work in pattern until the 4 stitches that will form a cable.
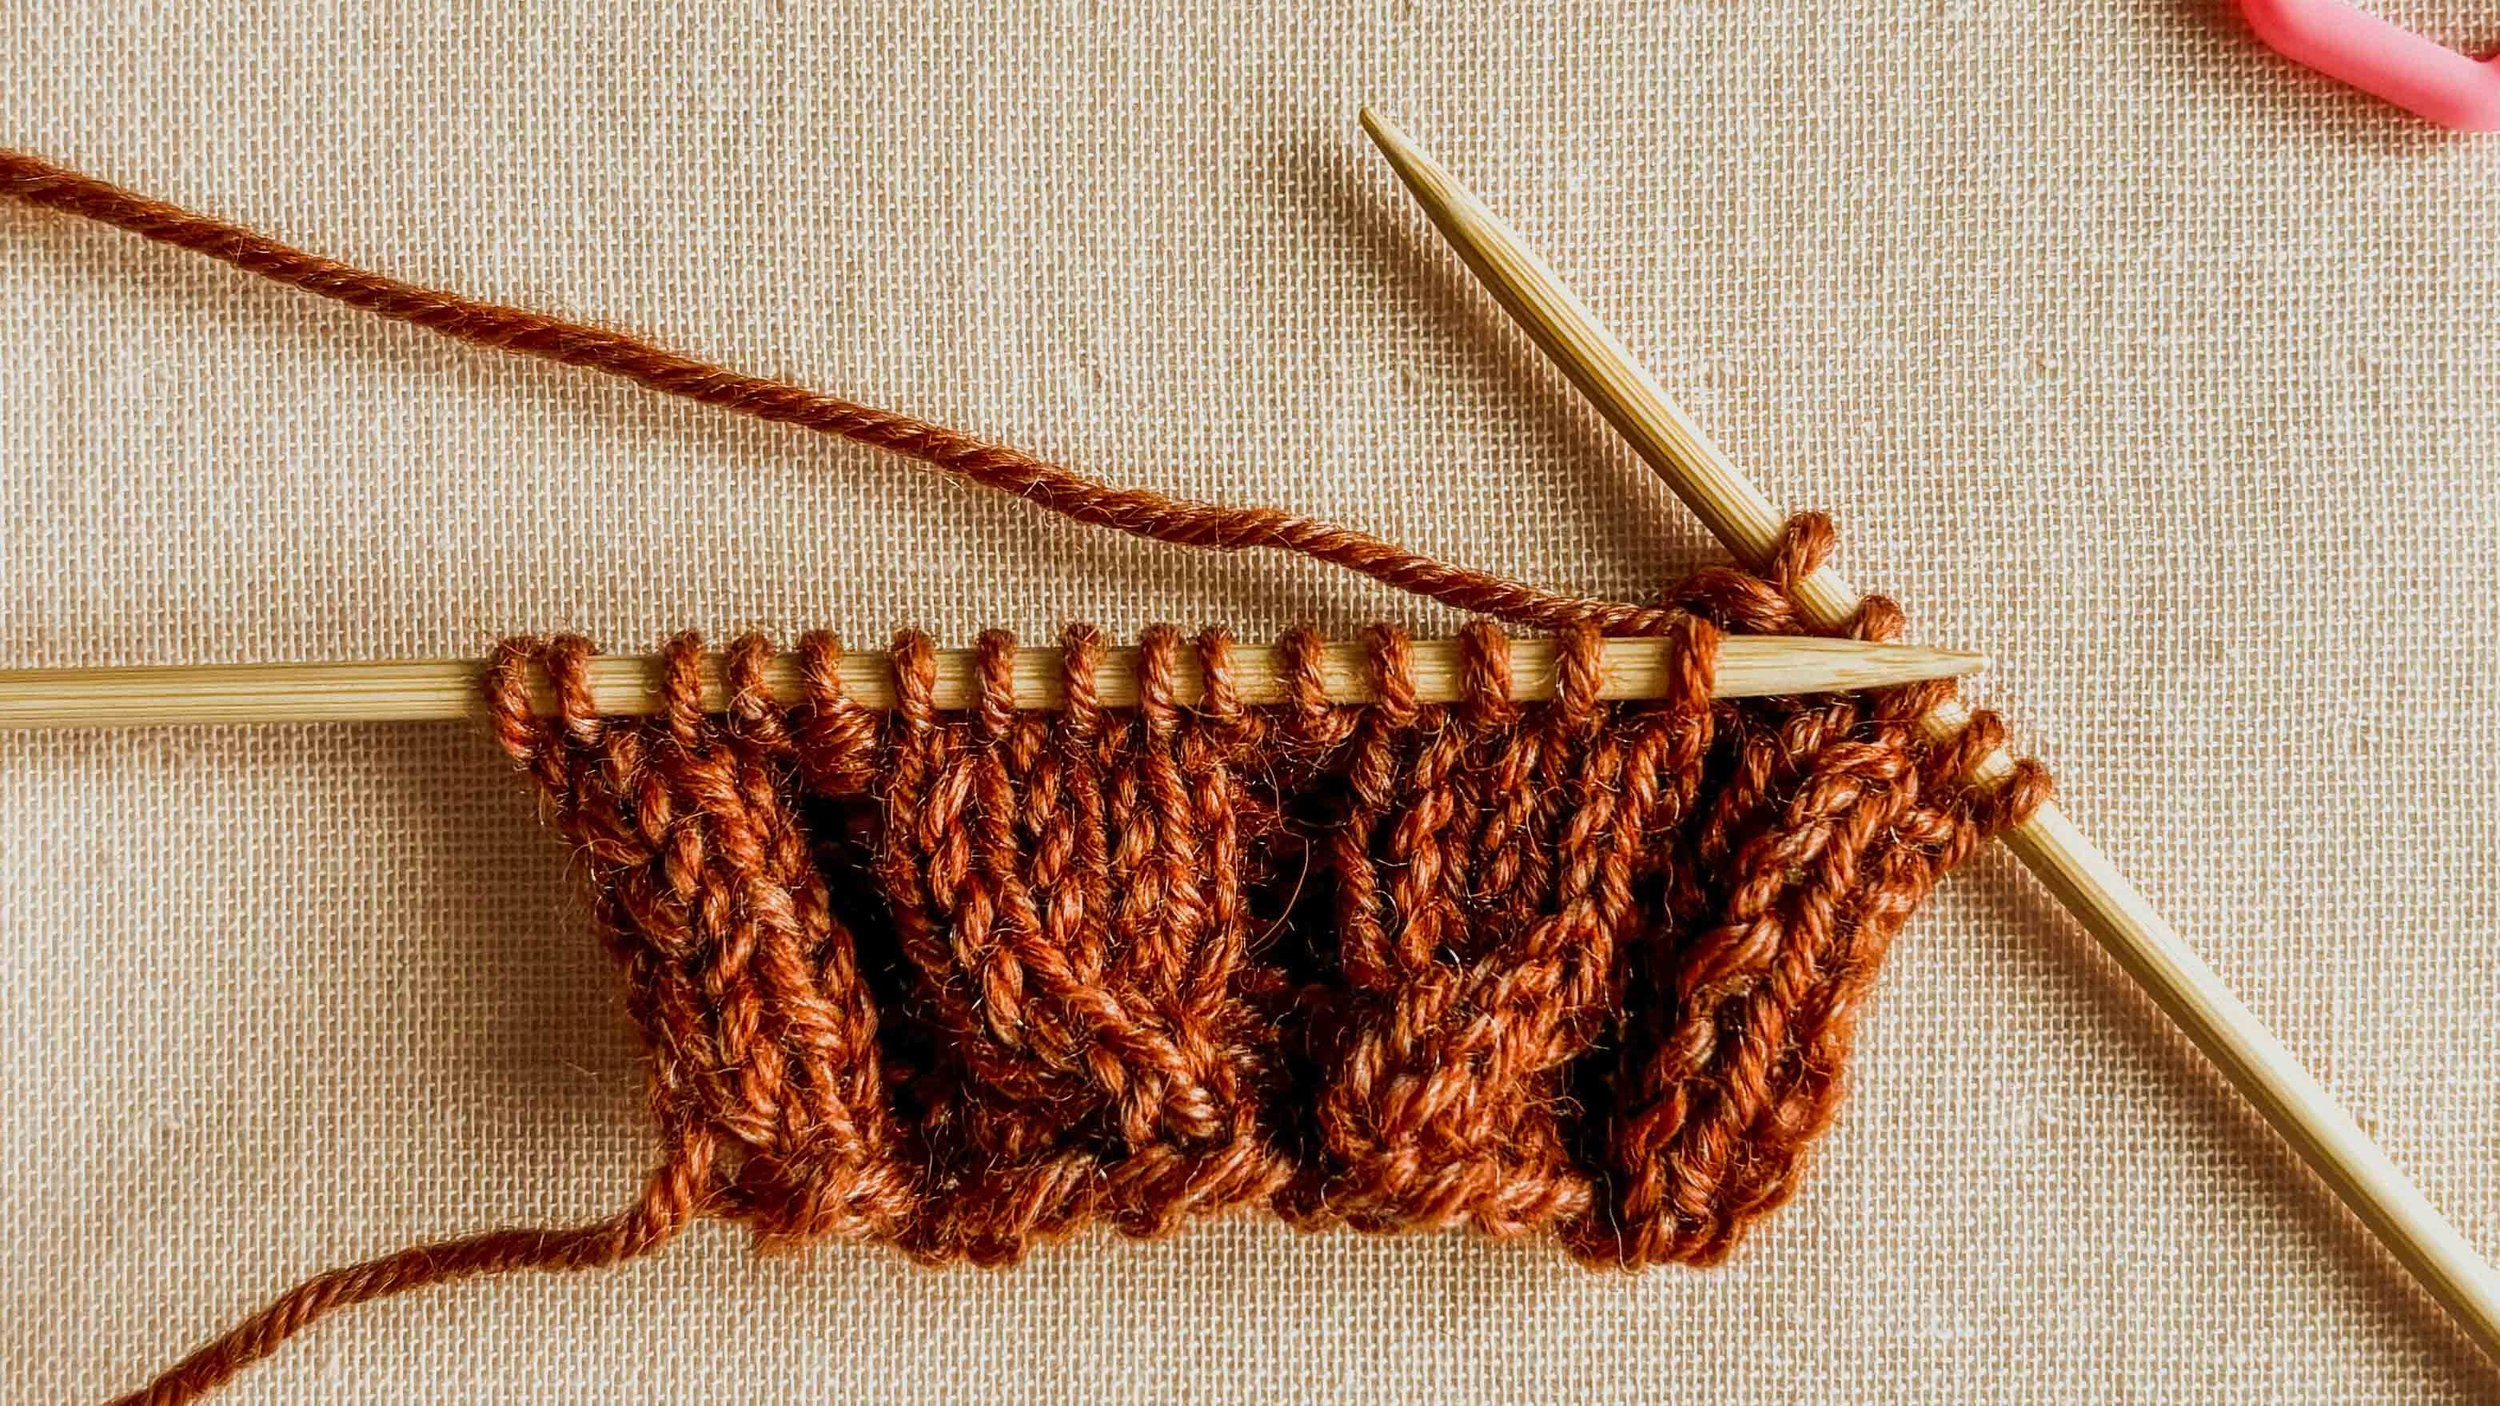
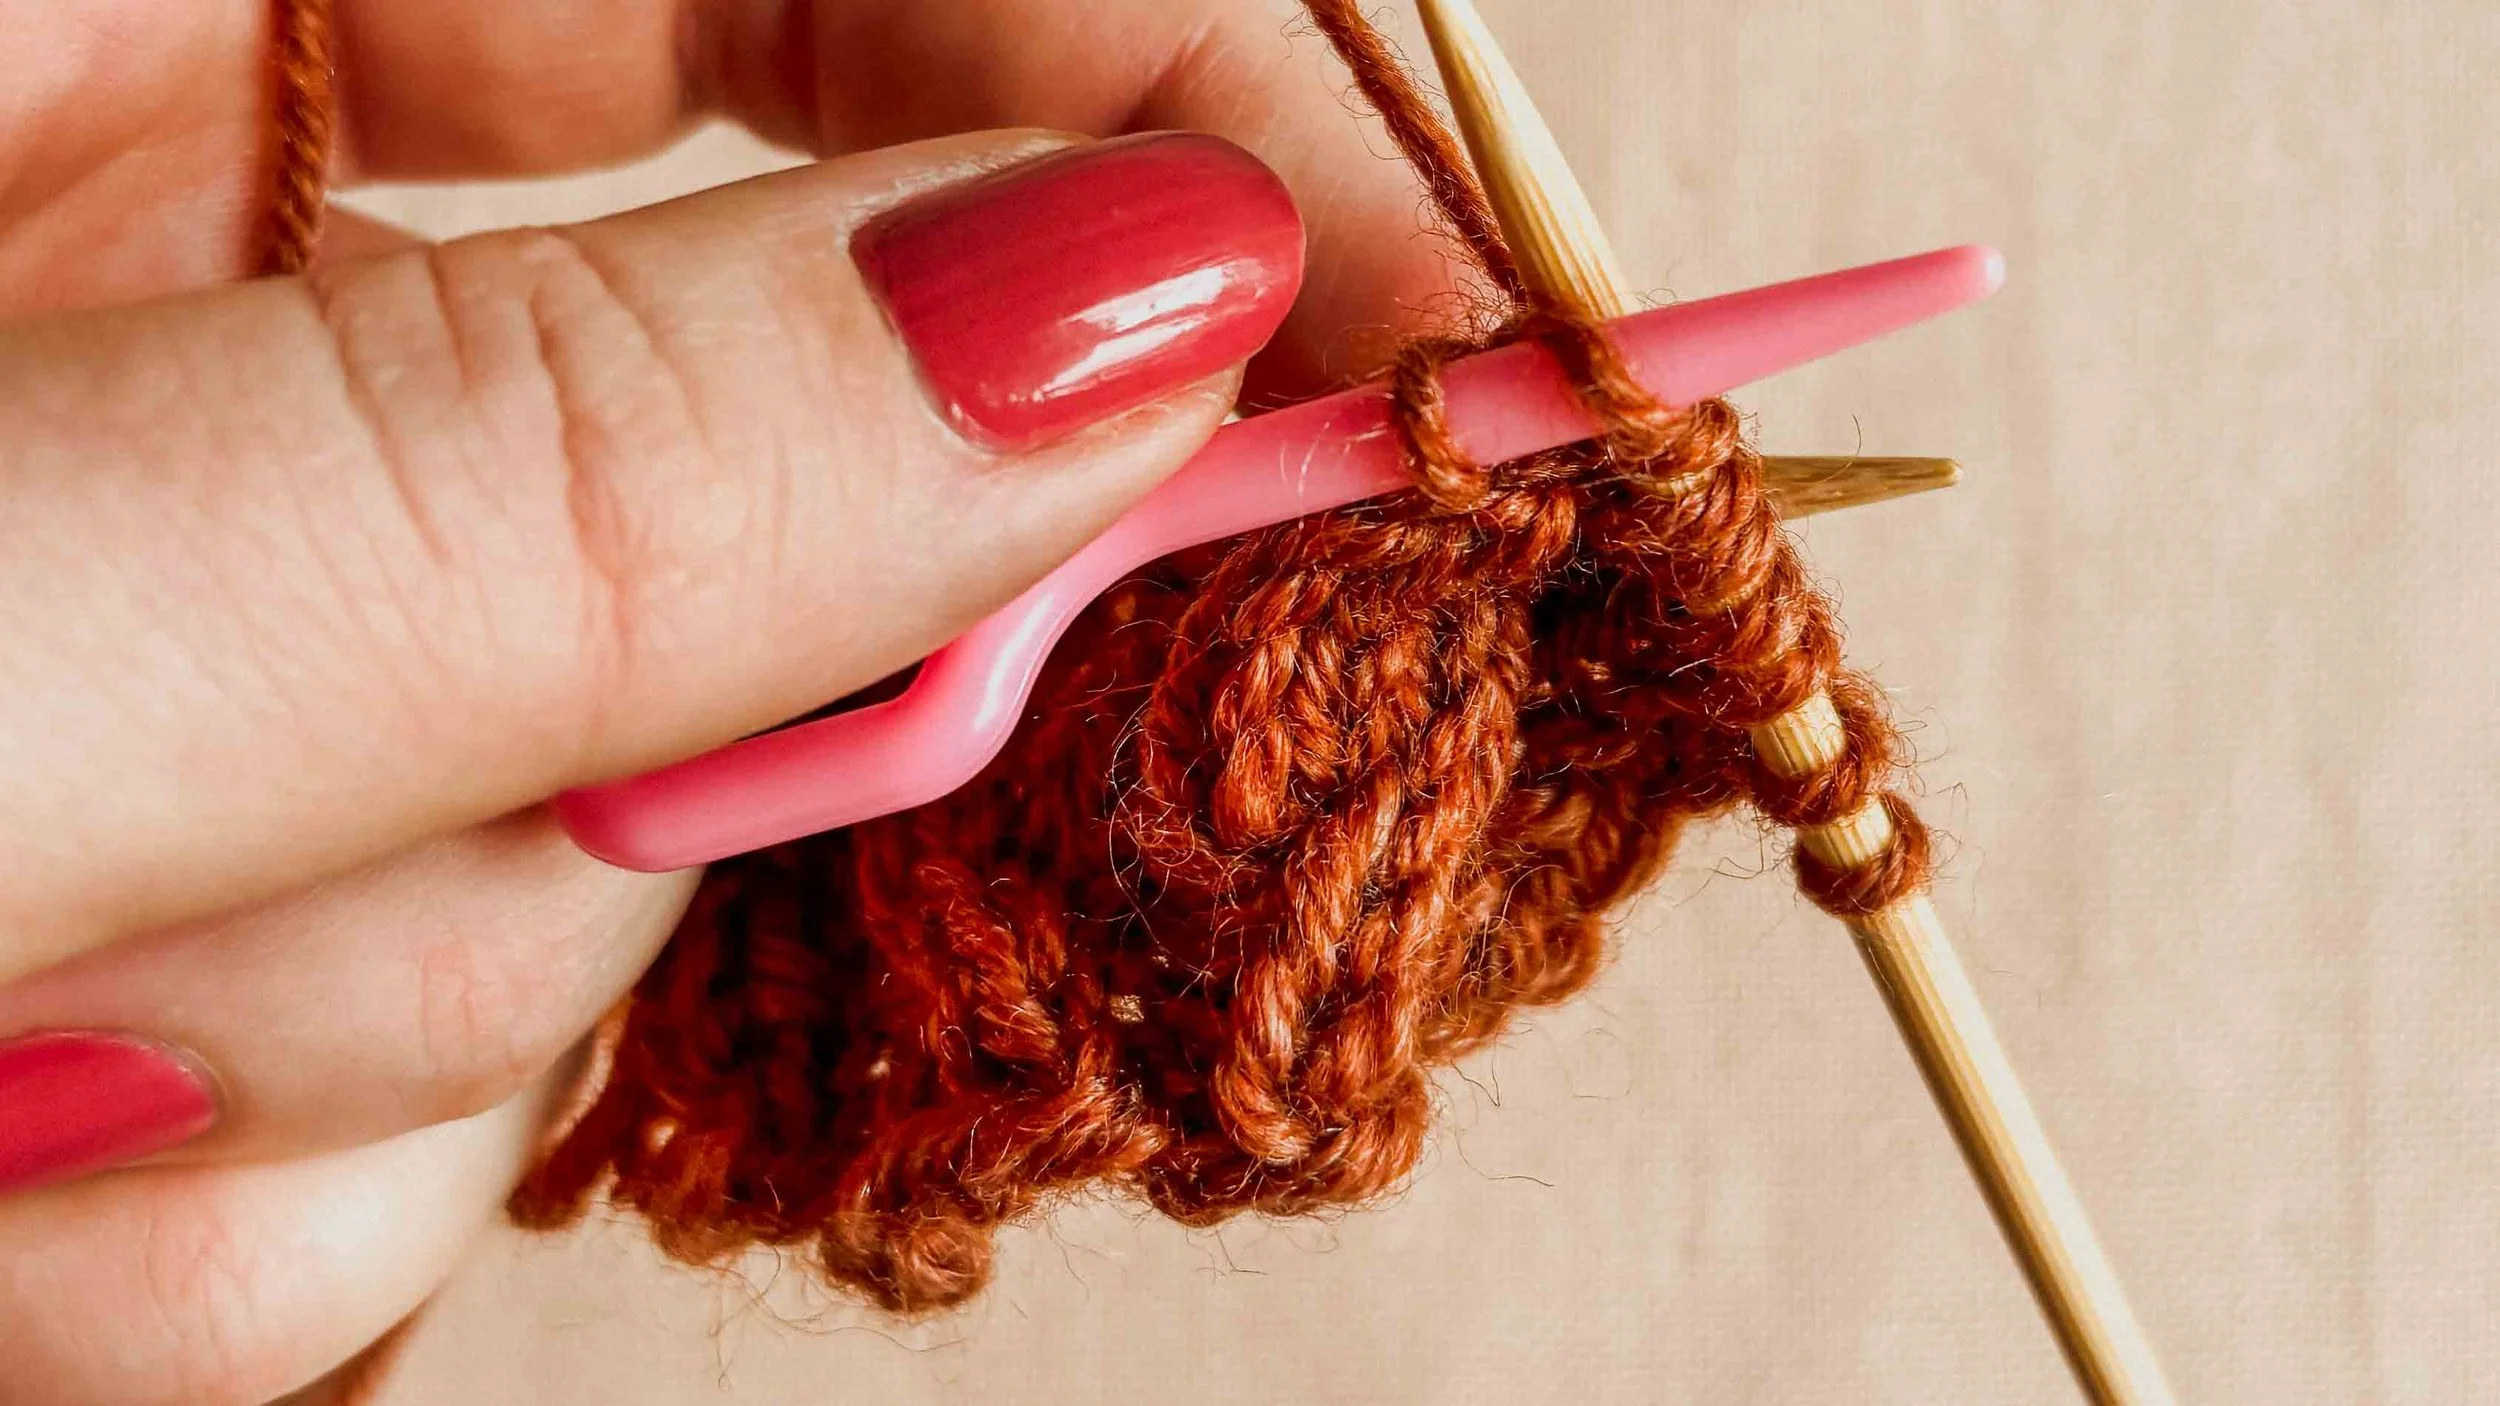
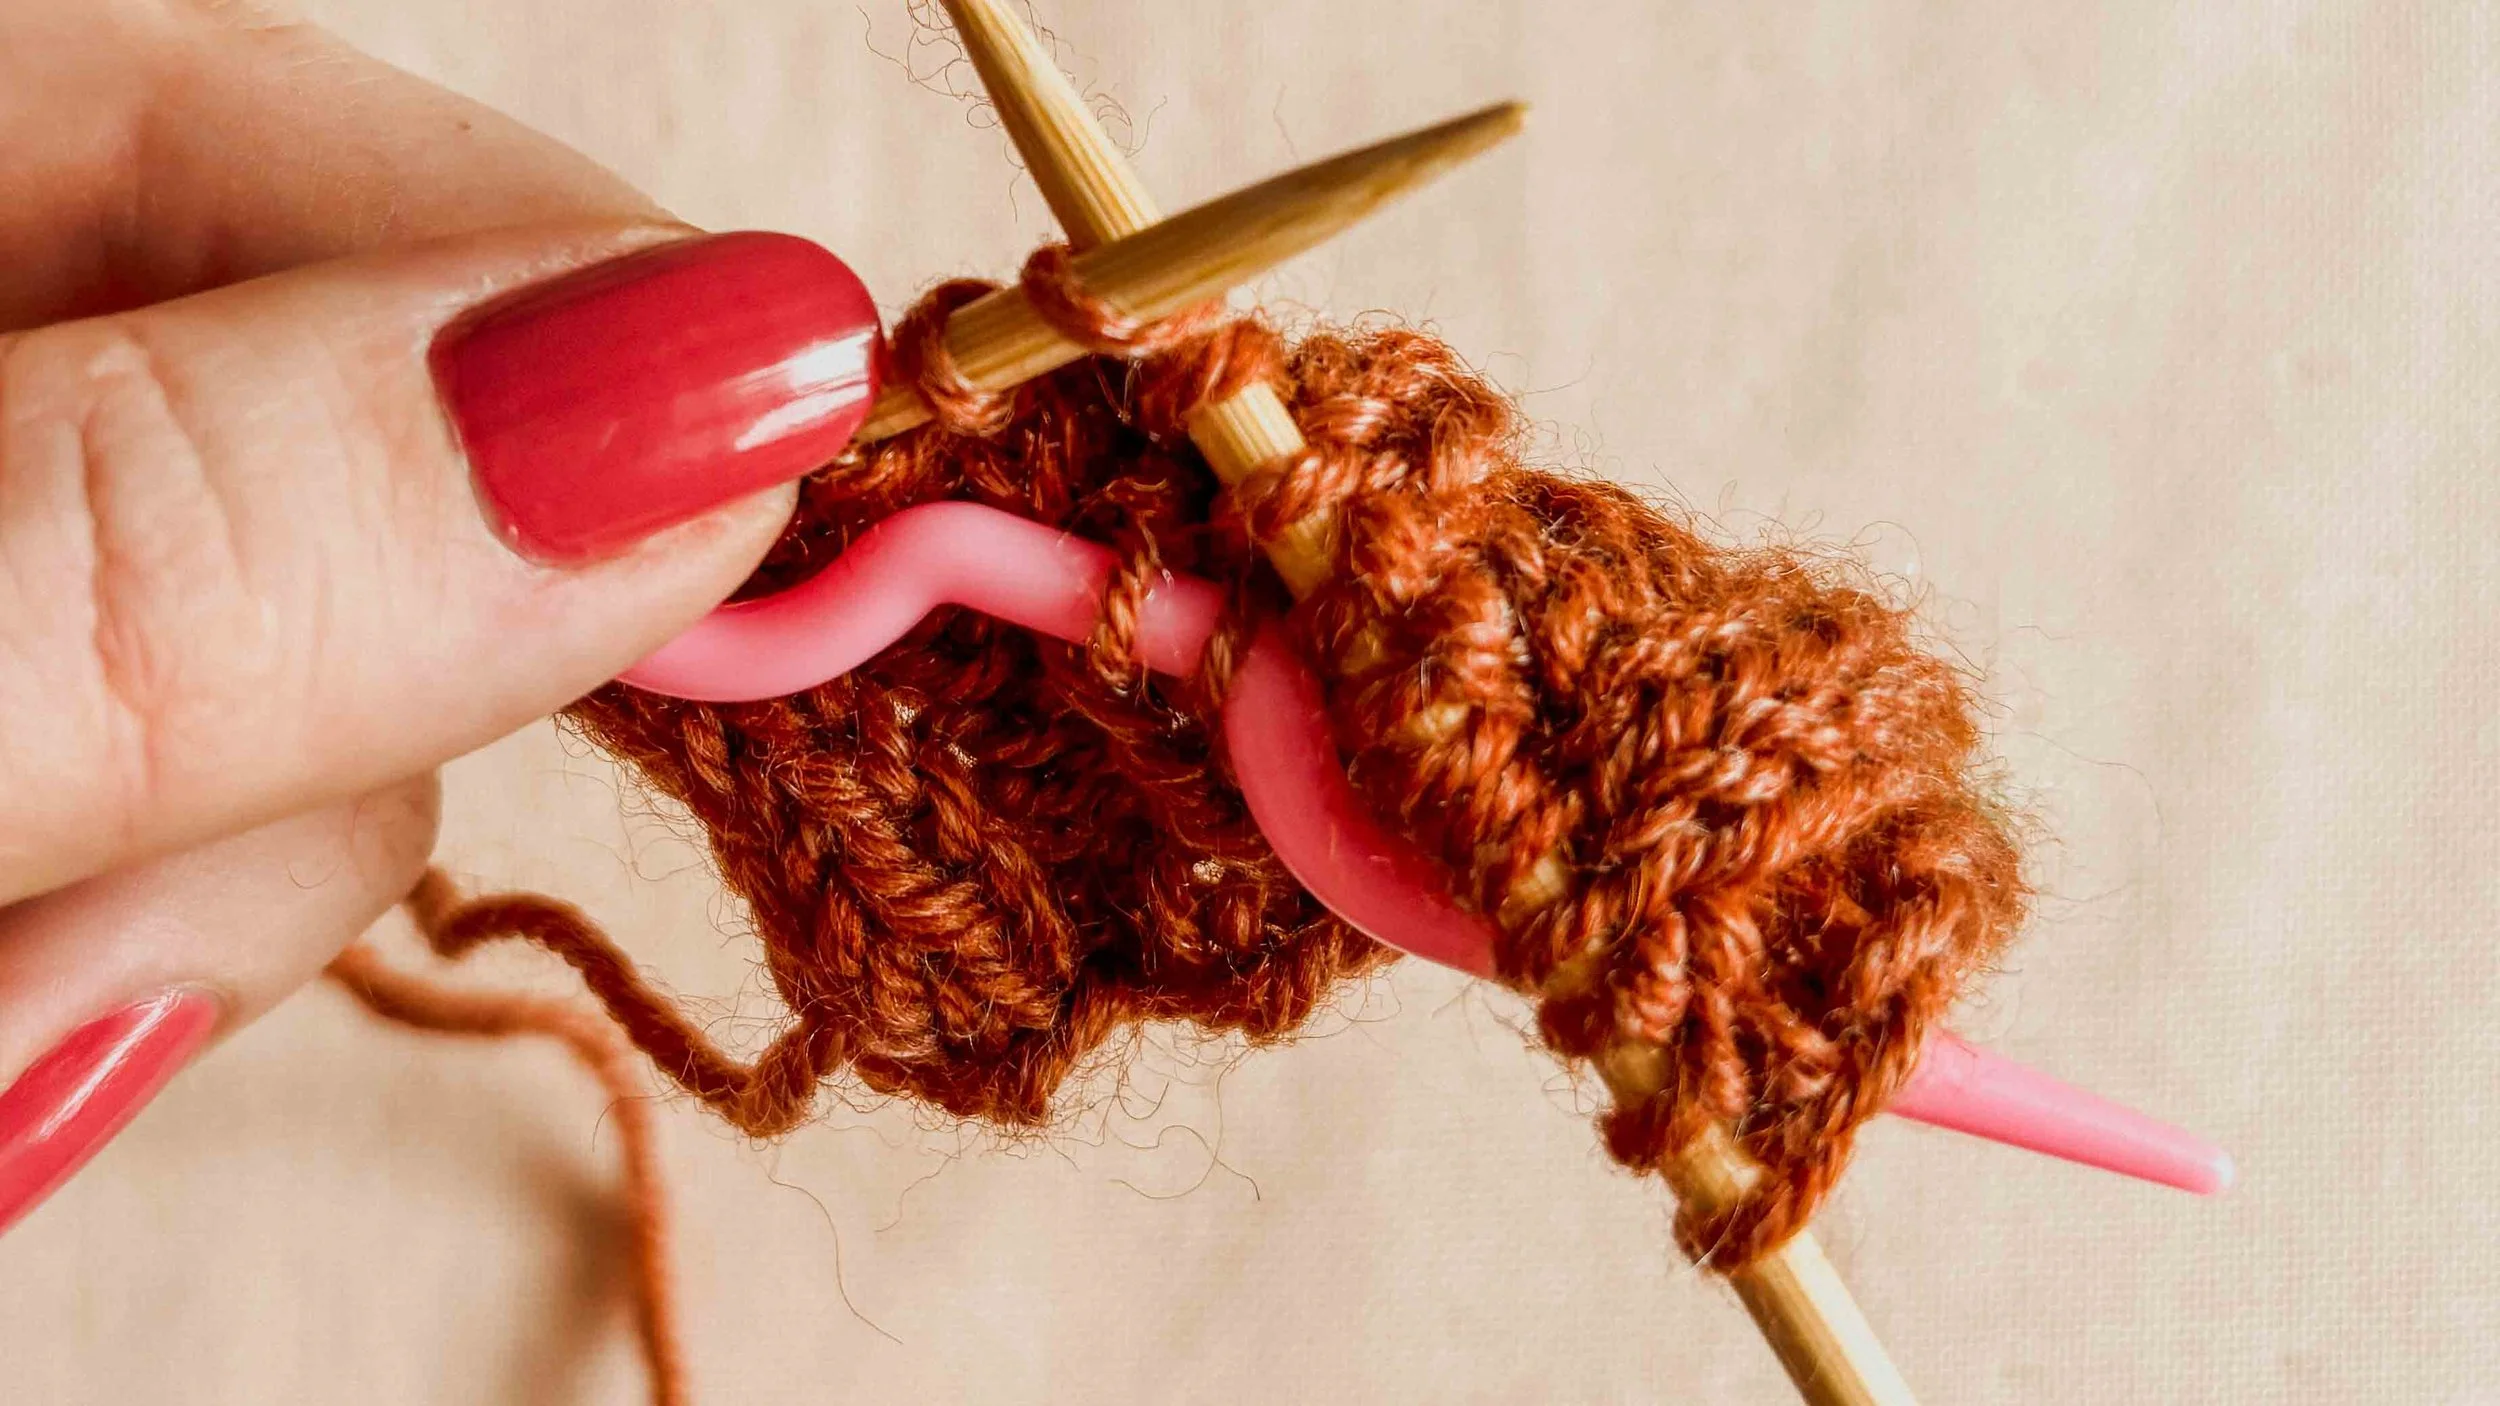
2 - Transfer 2 stitches to a cable needle and hold to the back.
3 - Knit the next 2 stitches.
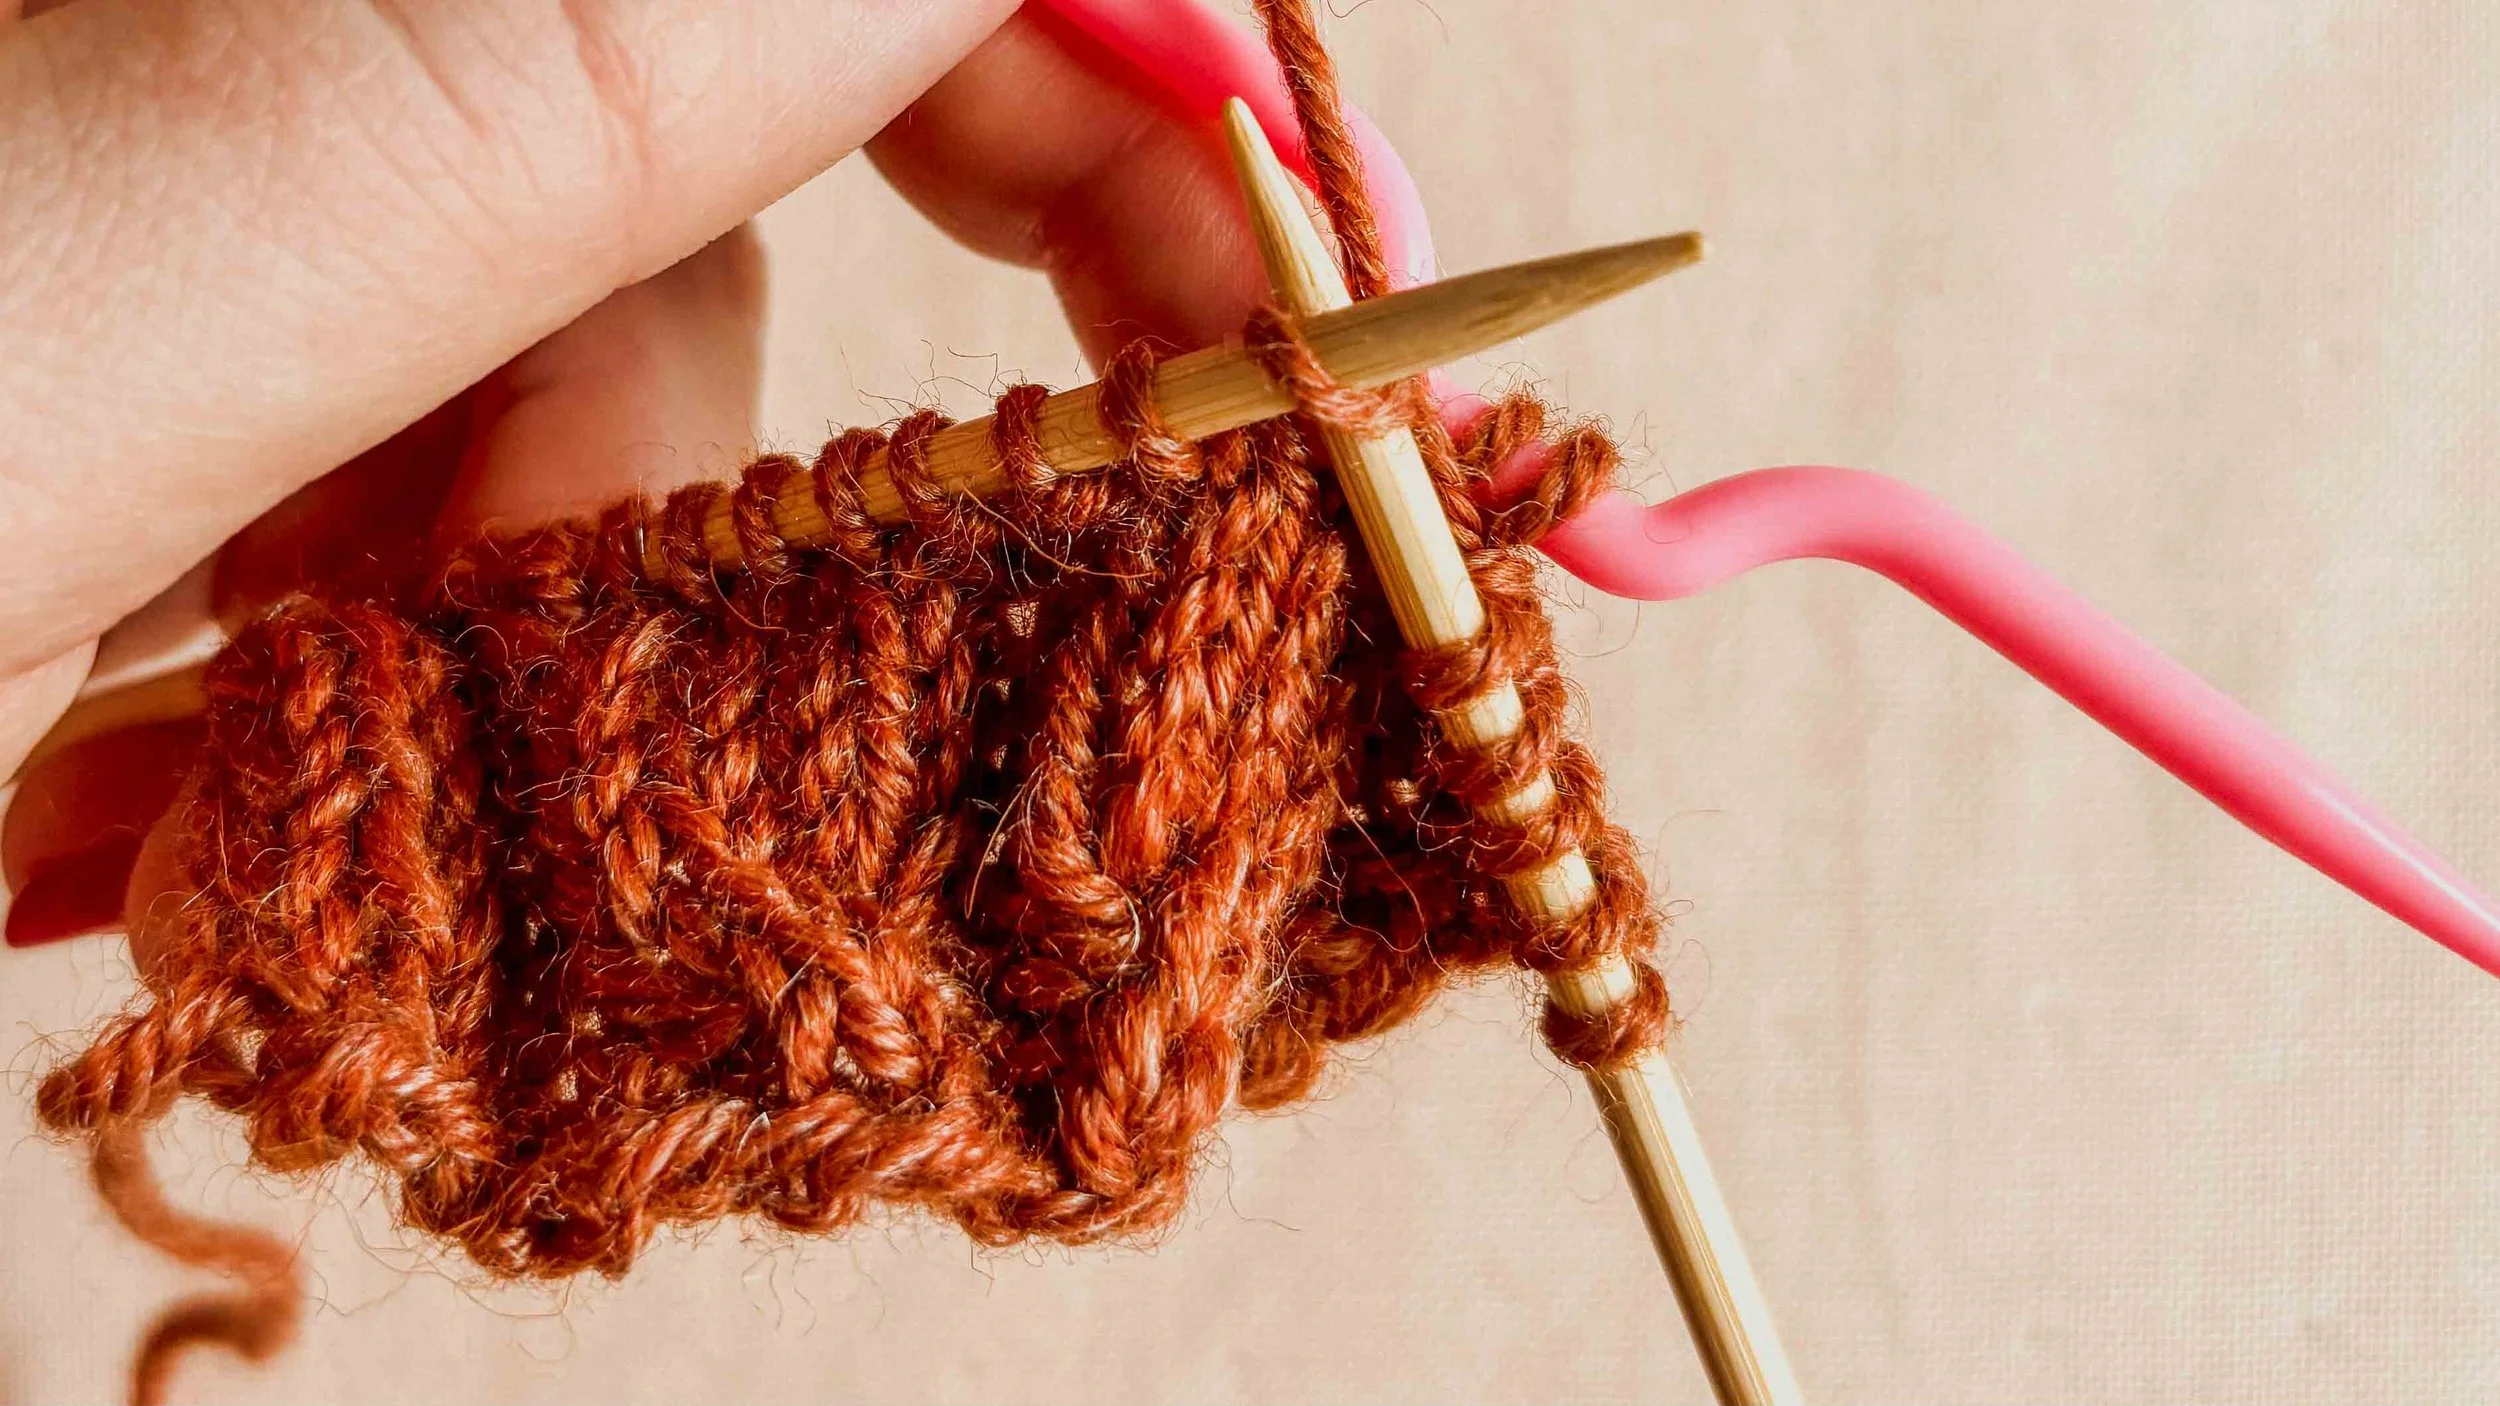
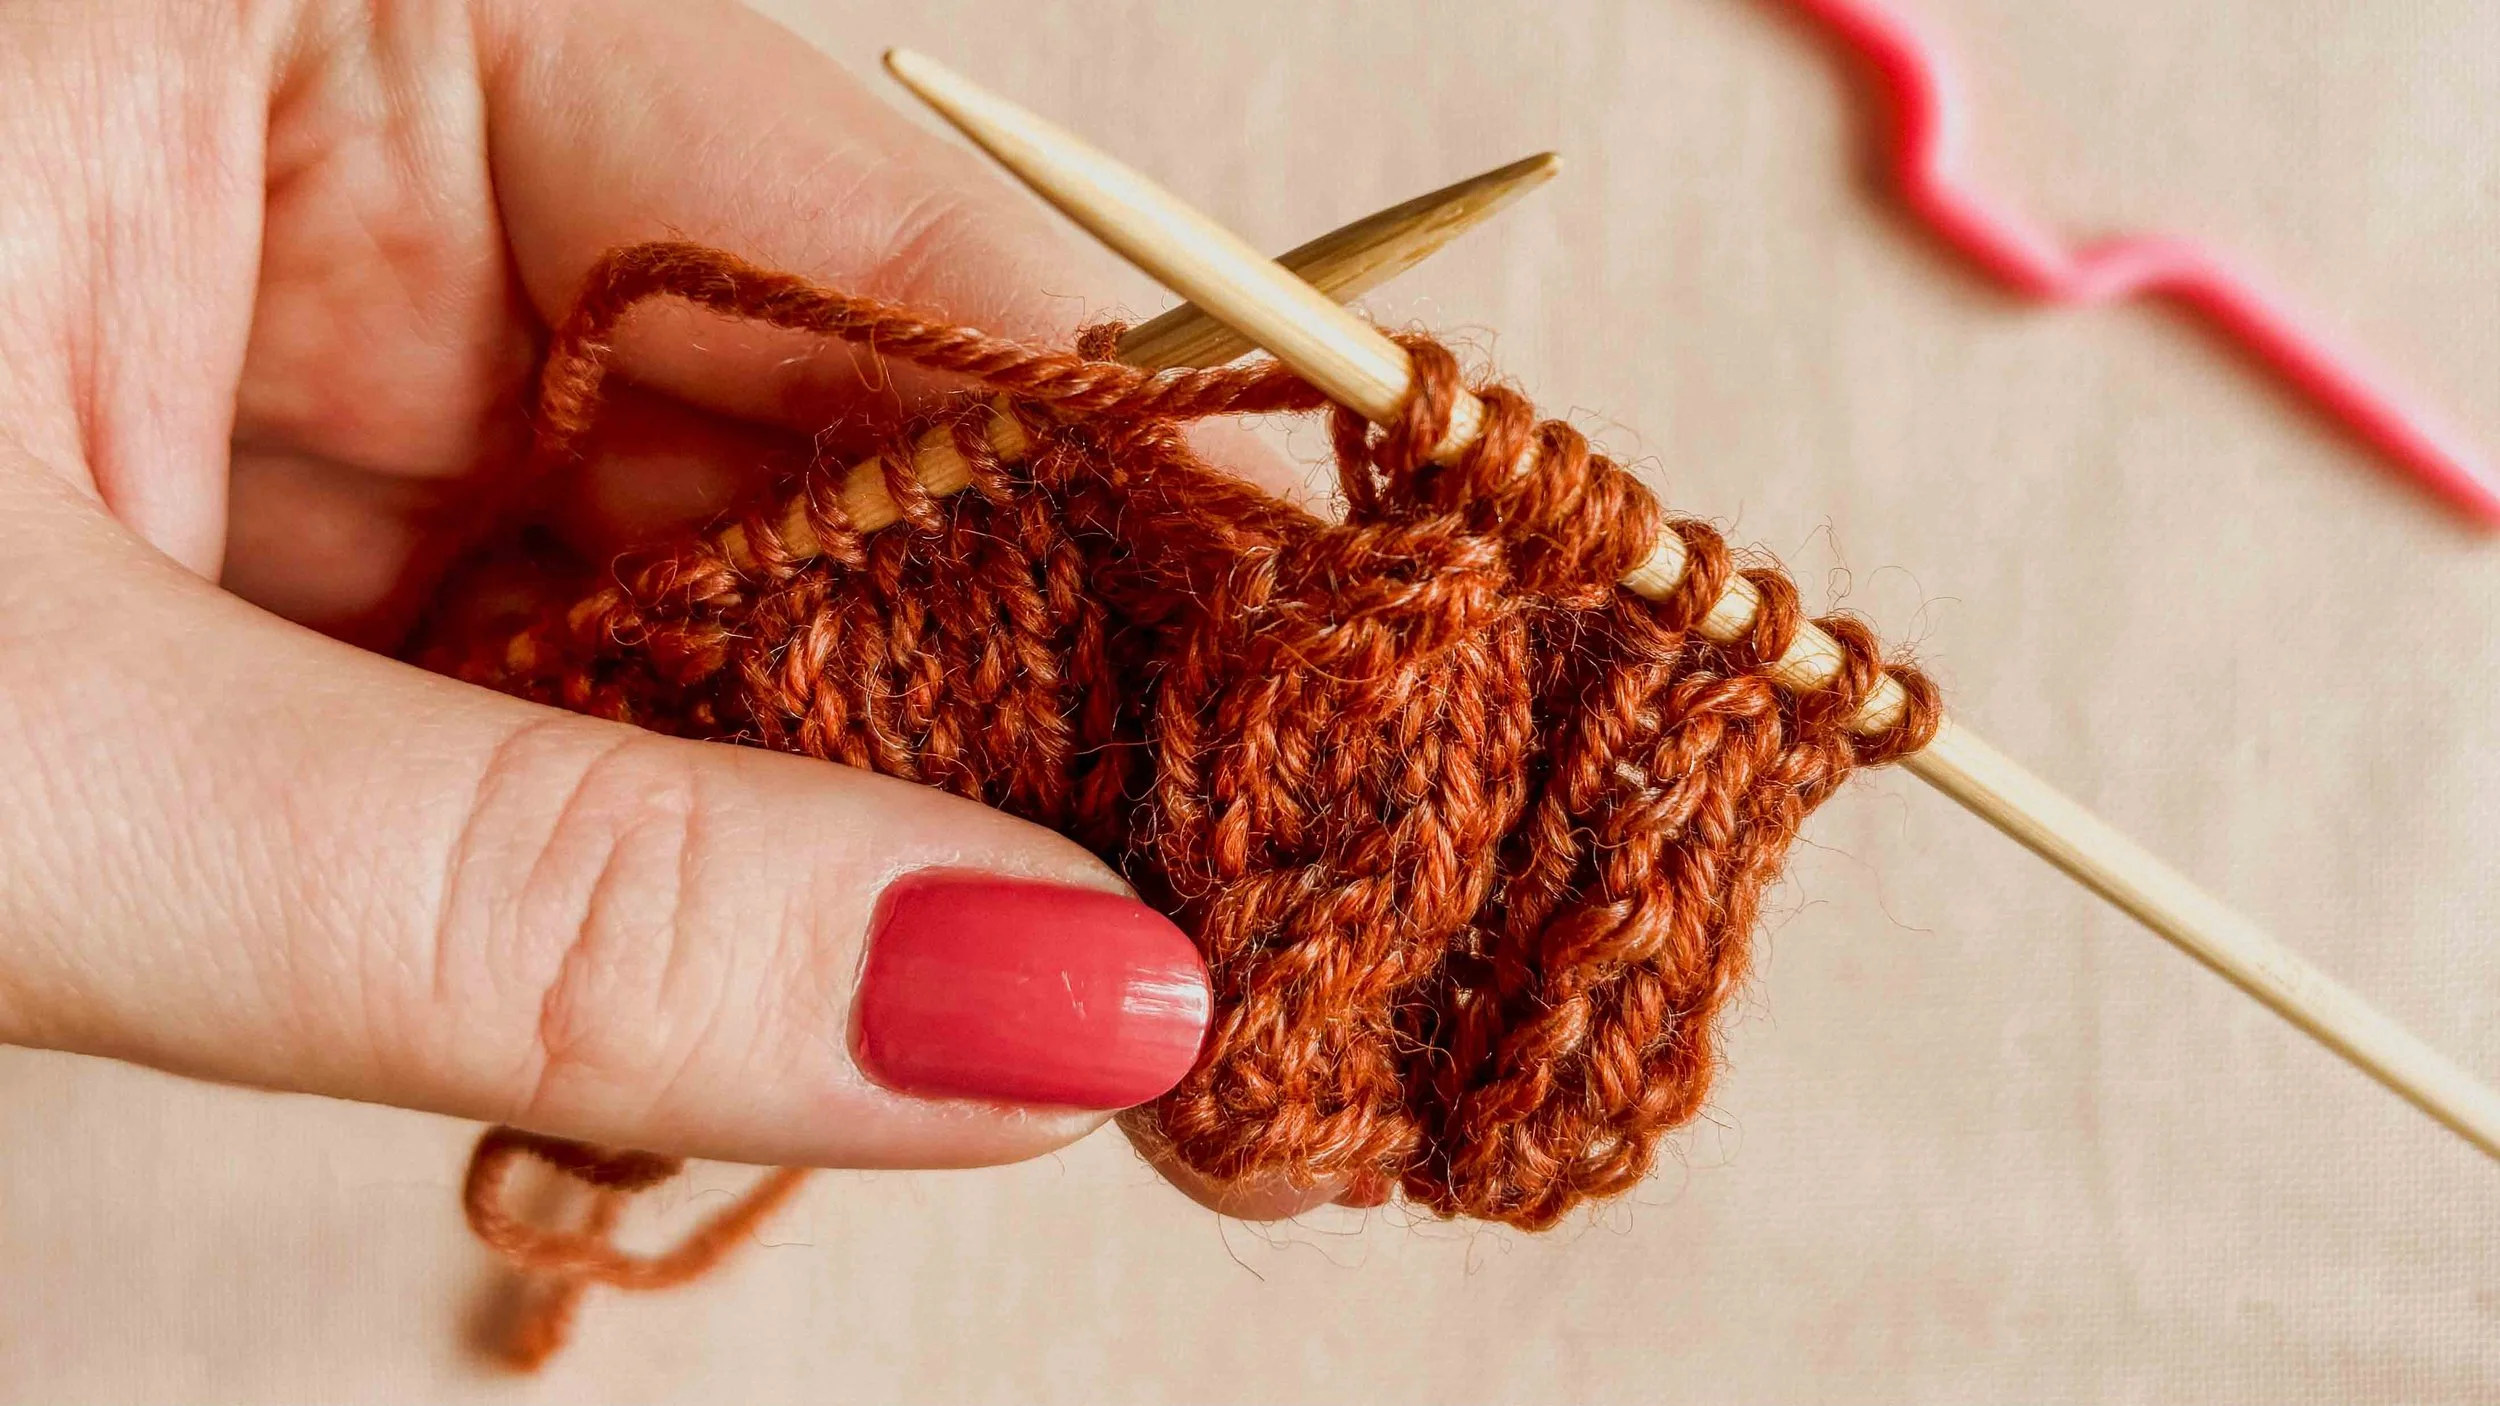
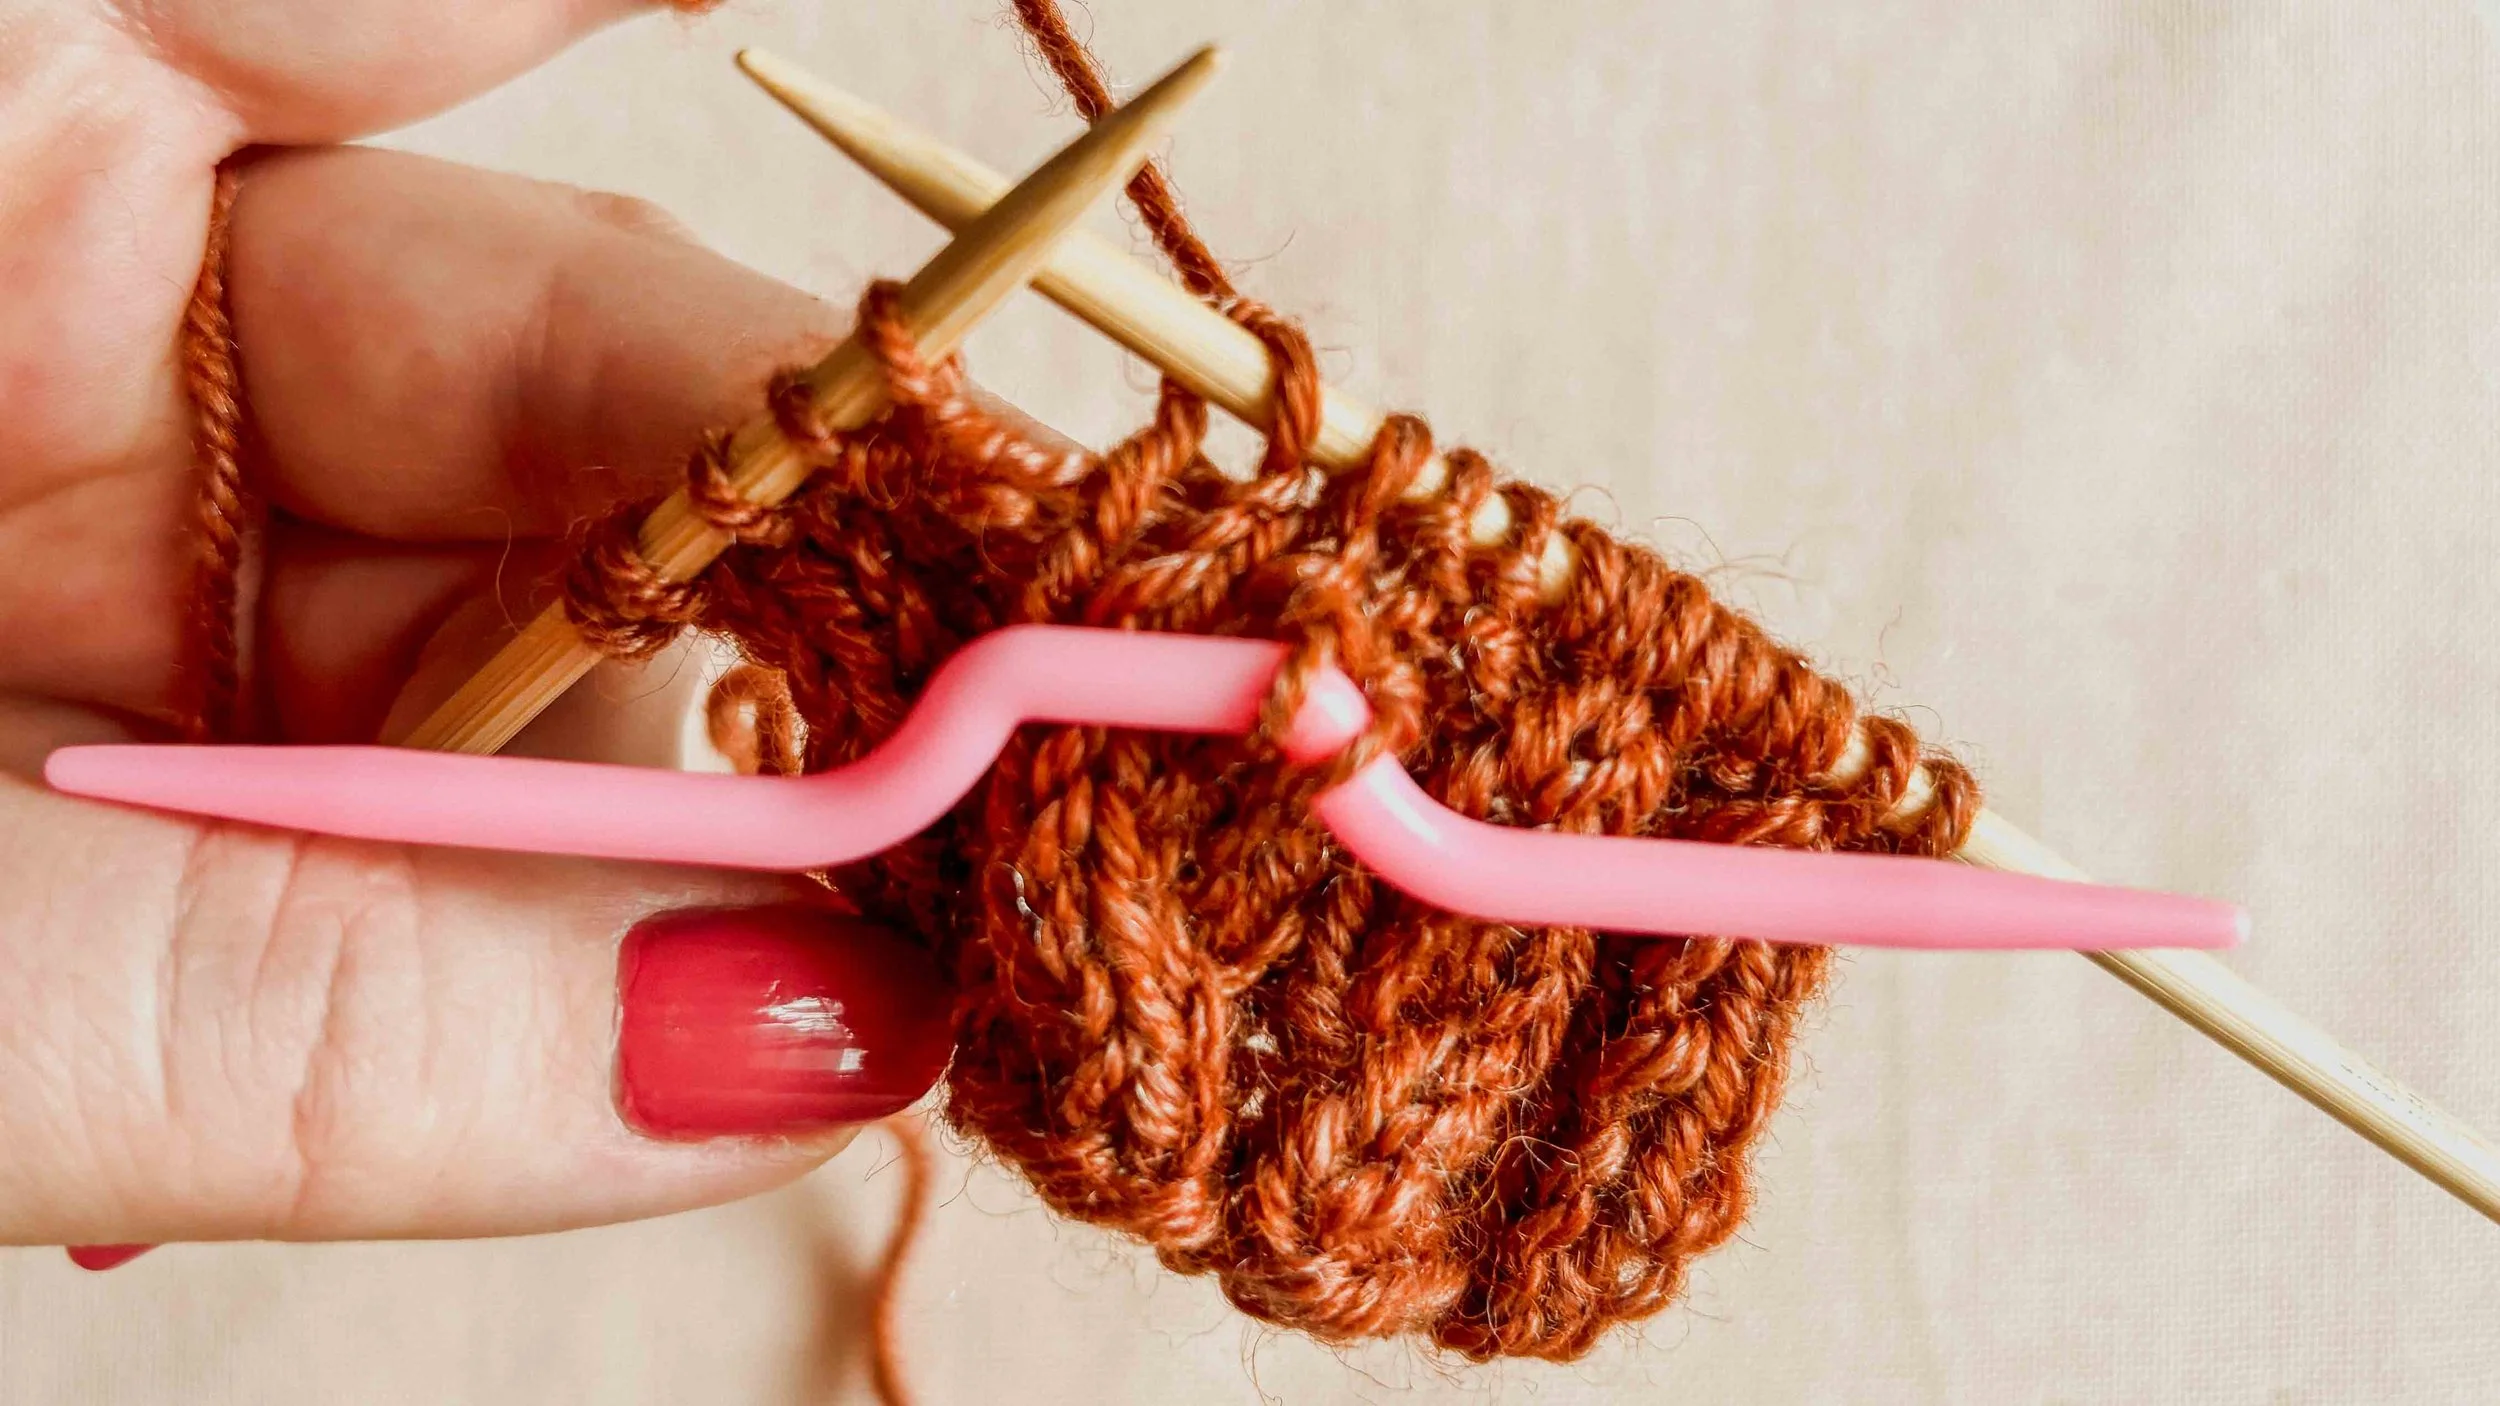
4 - Knit 2 stitches from the cable needle.
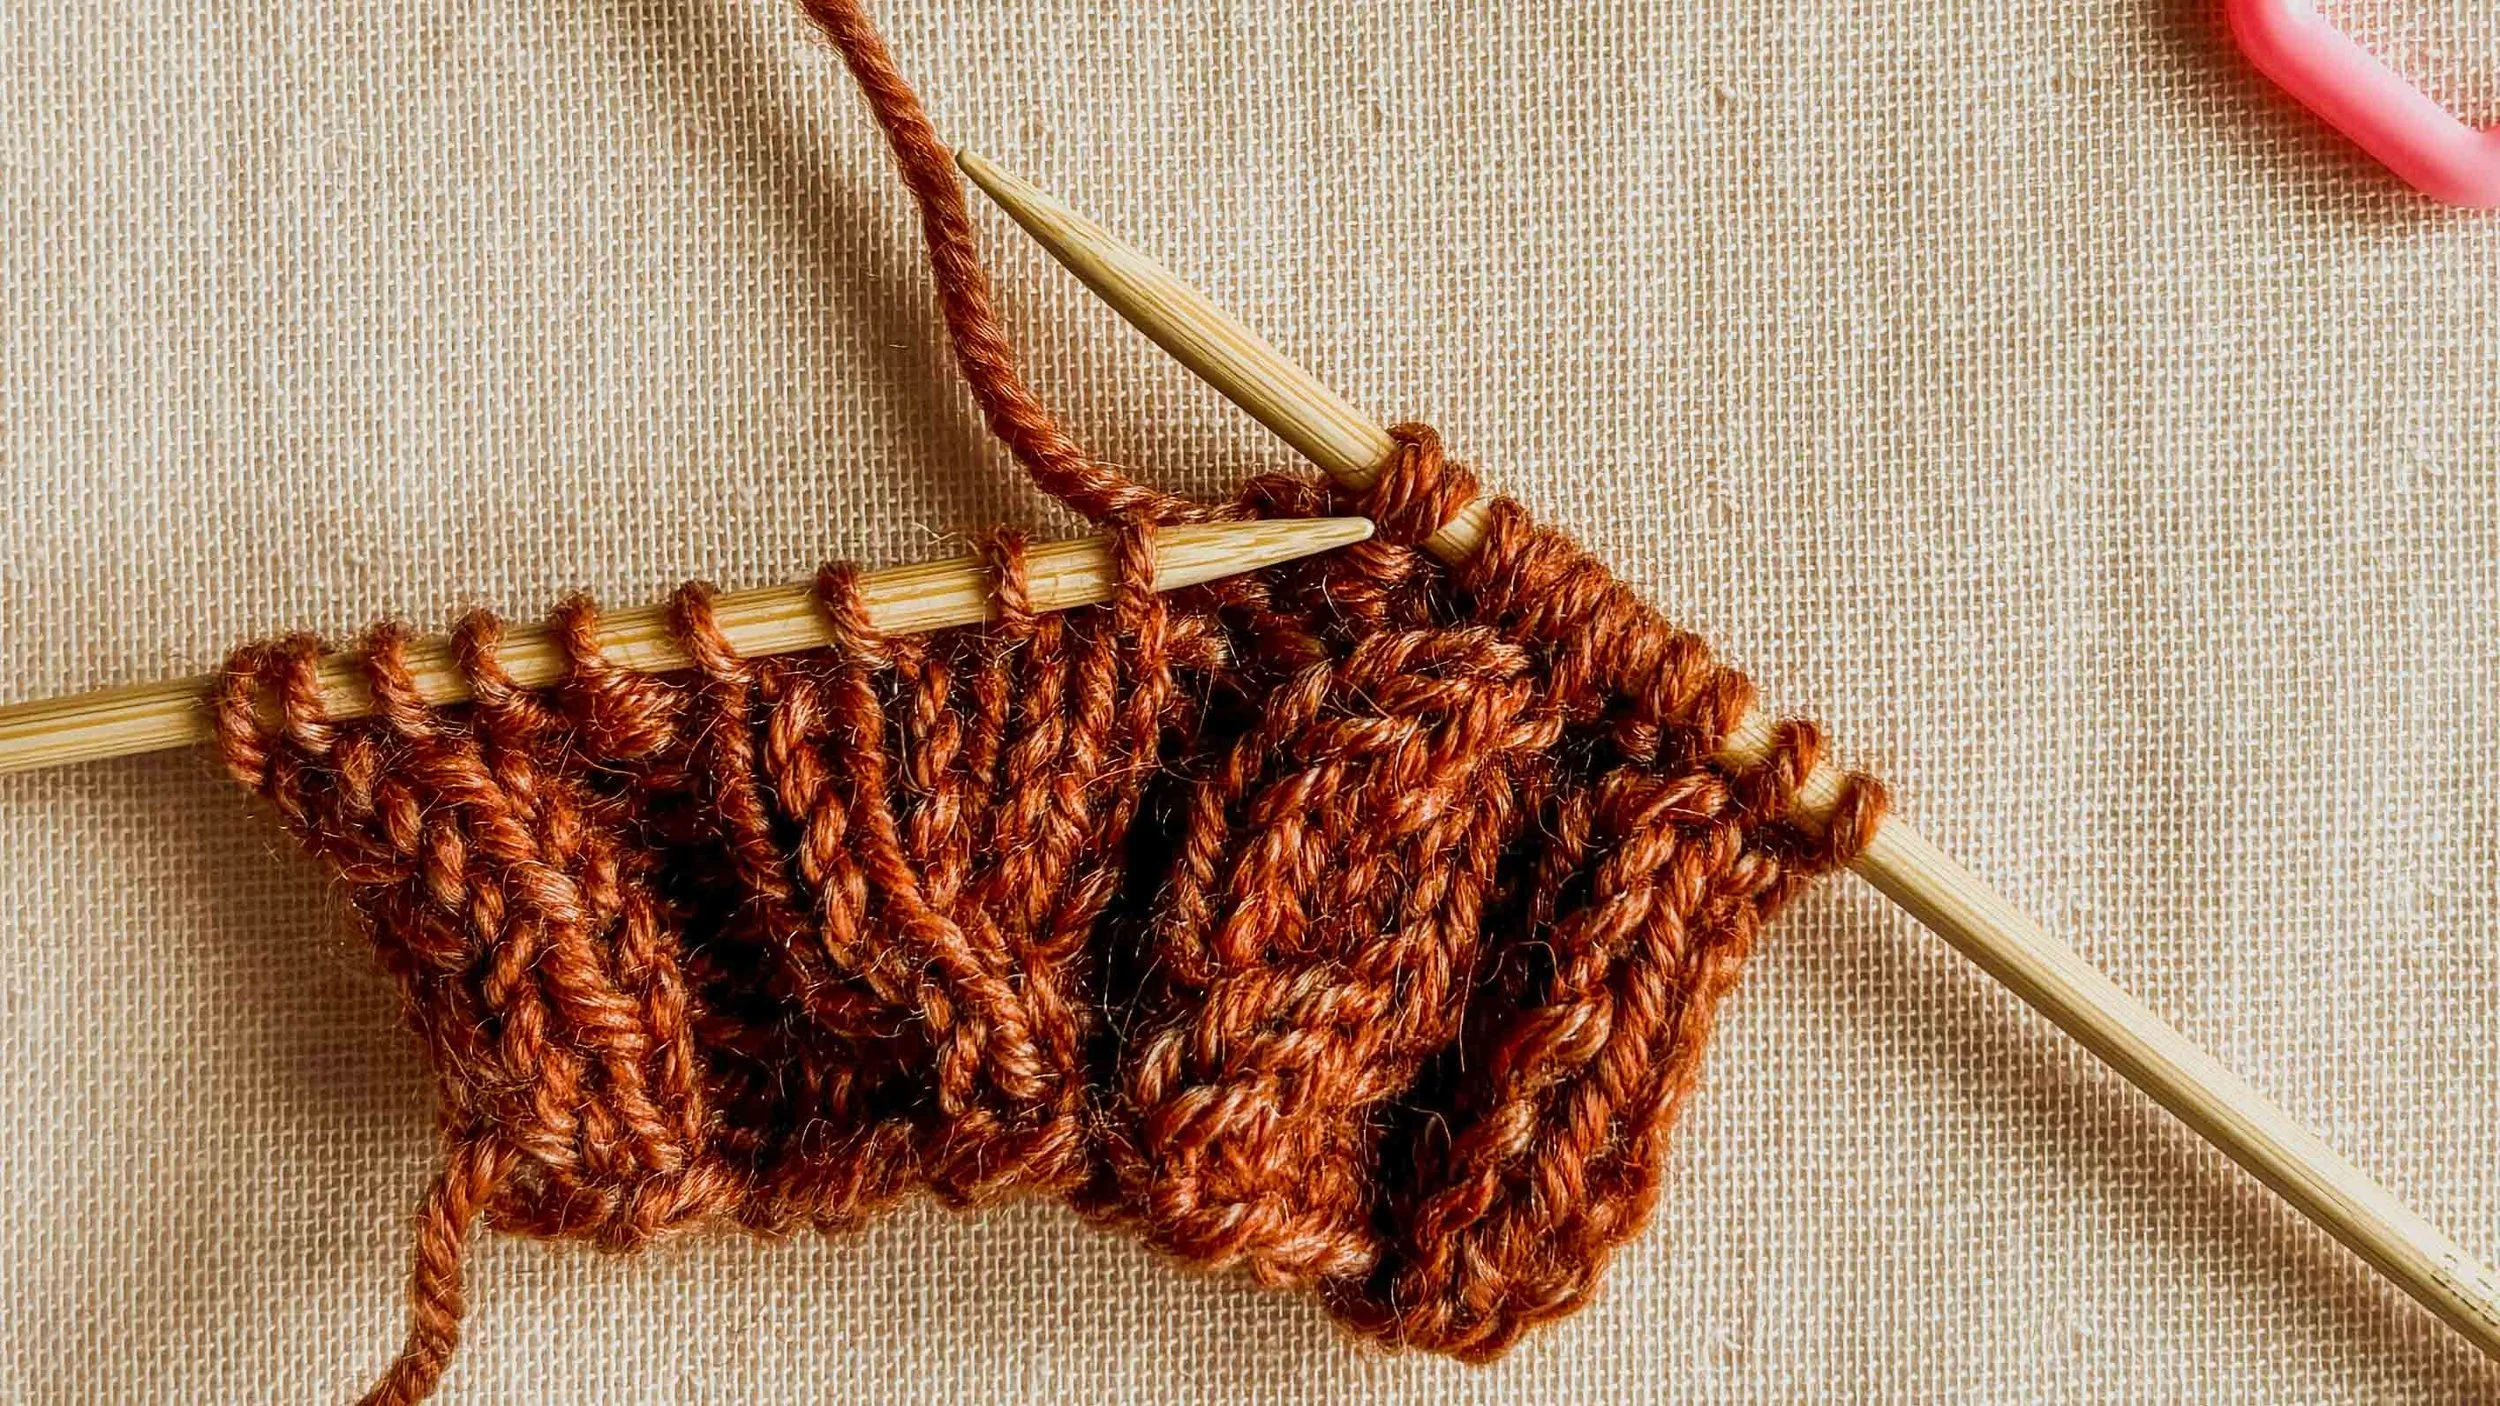
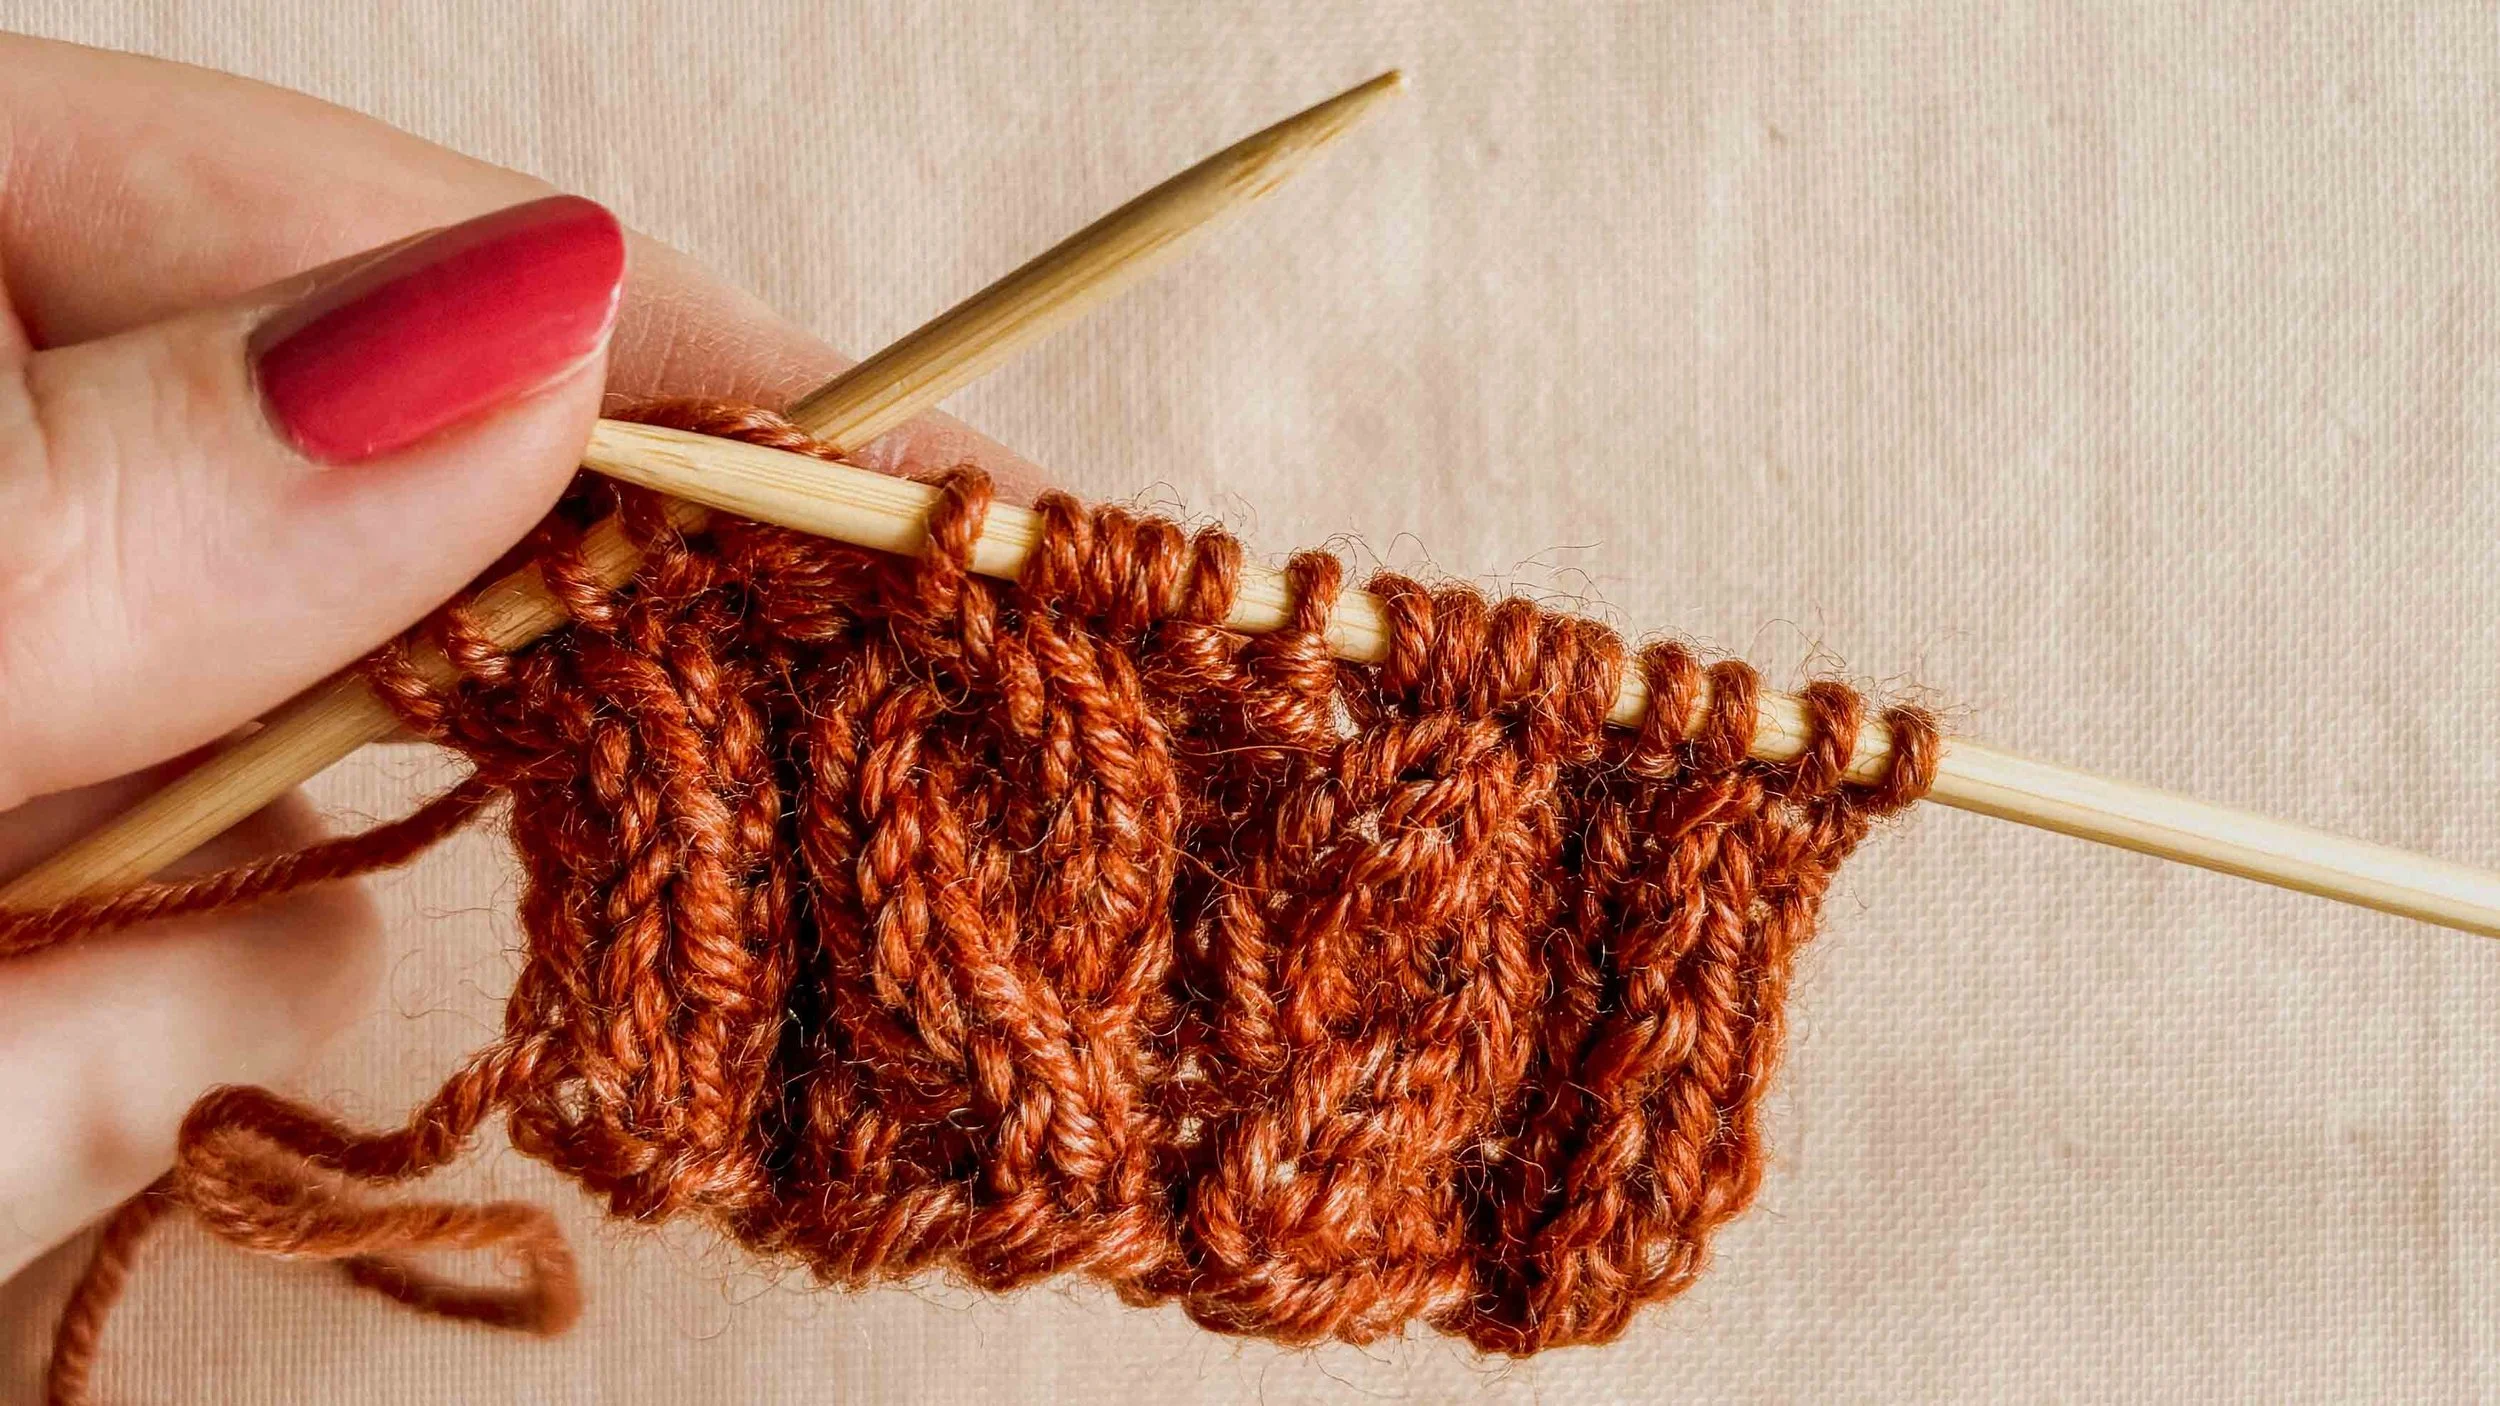
5 - Cable is done!
How to Knit a 2/2 Left-Leaning Cable Tutorial
1 - Work in pattern until the 4 stitches that will form a cable.
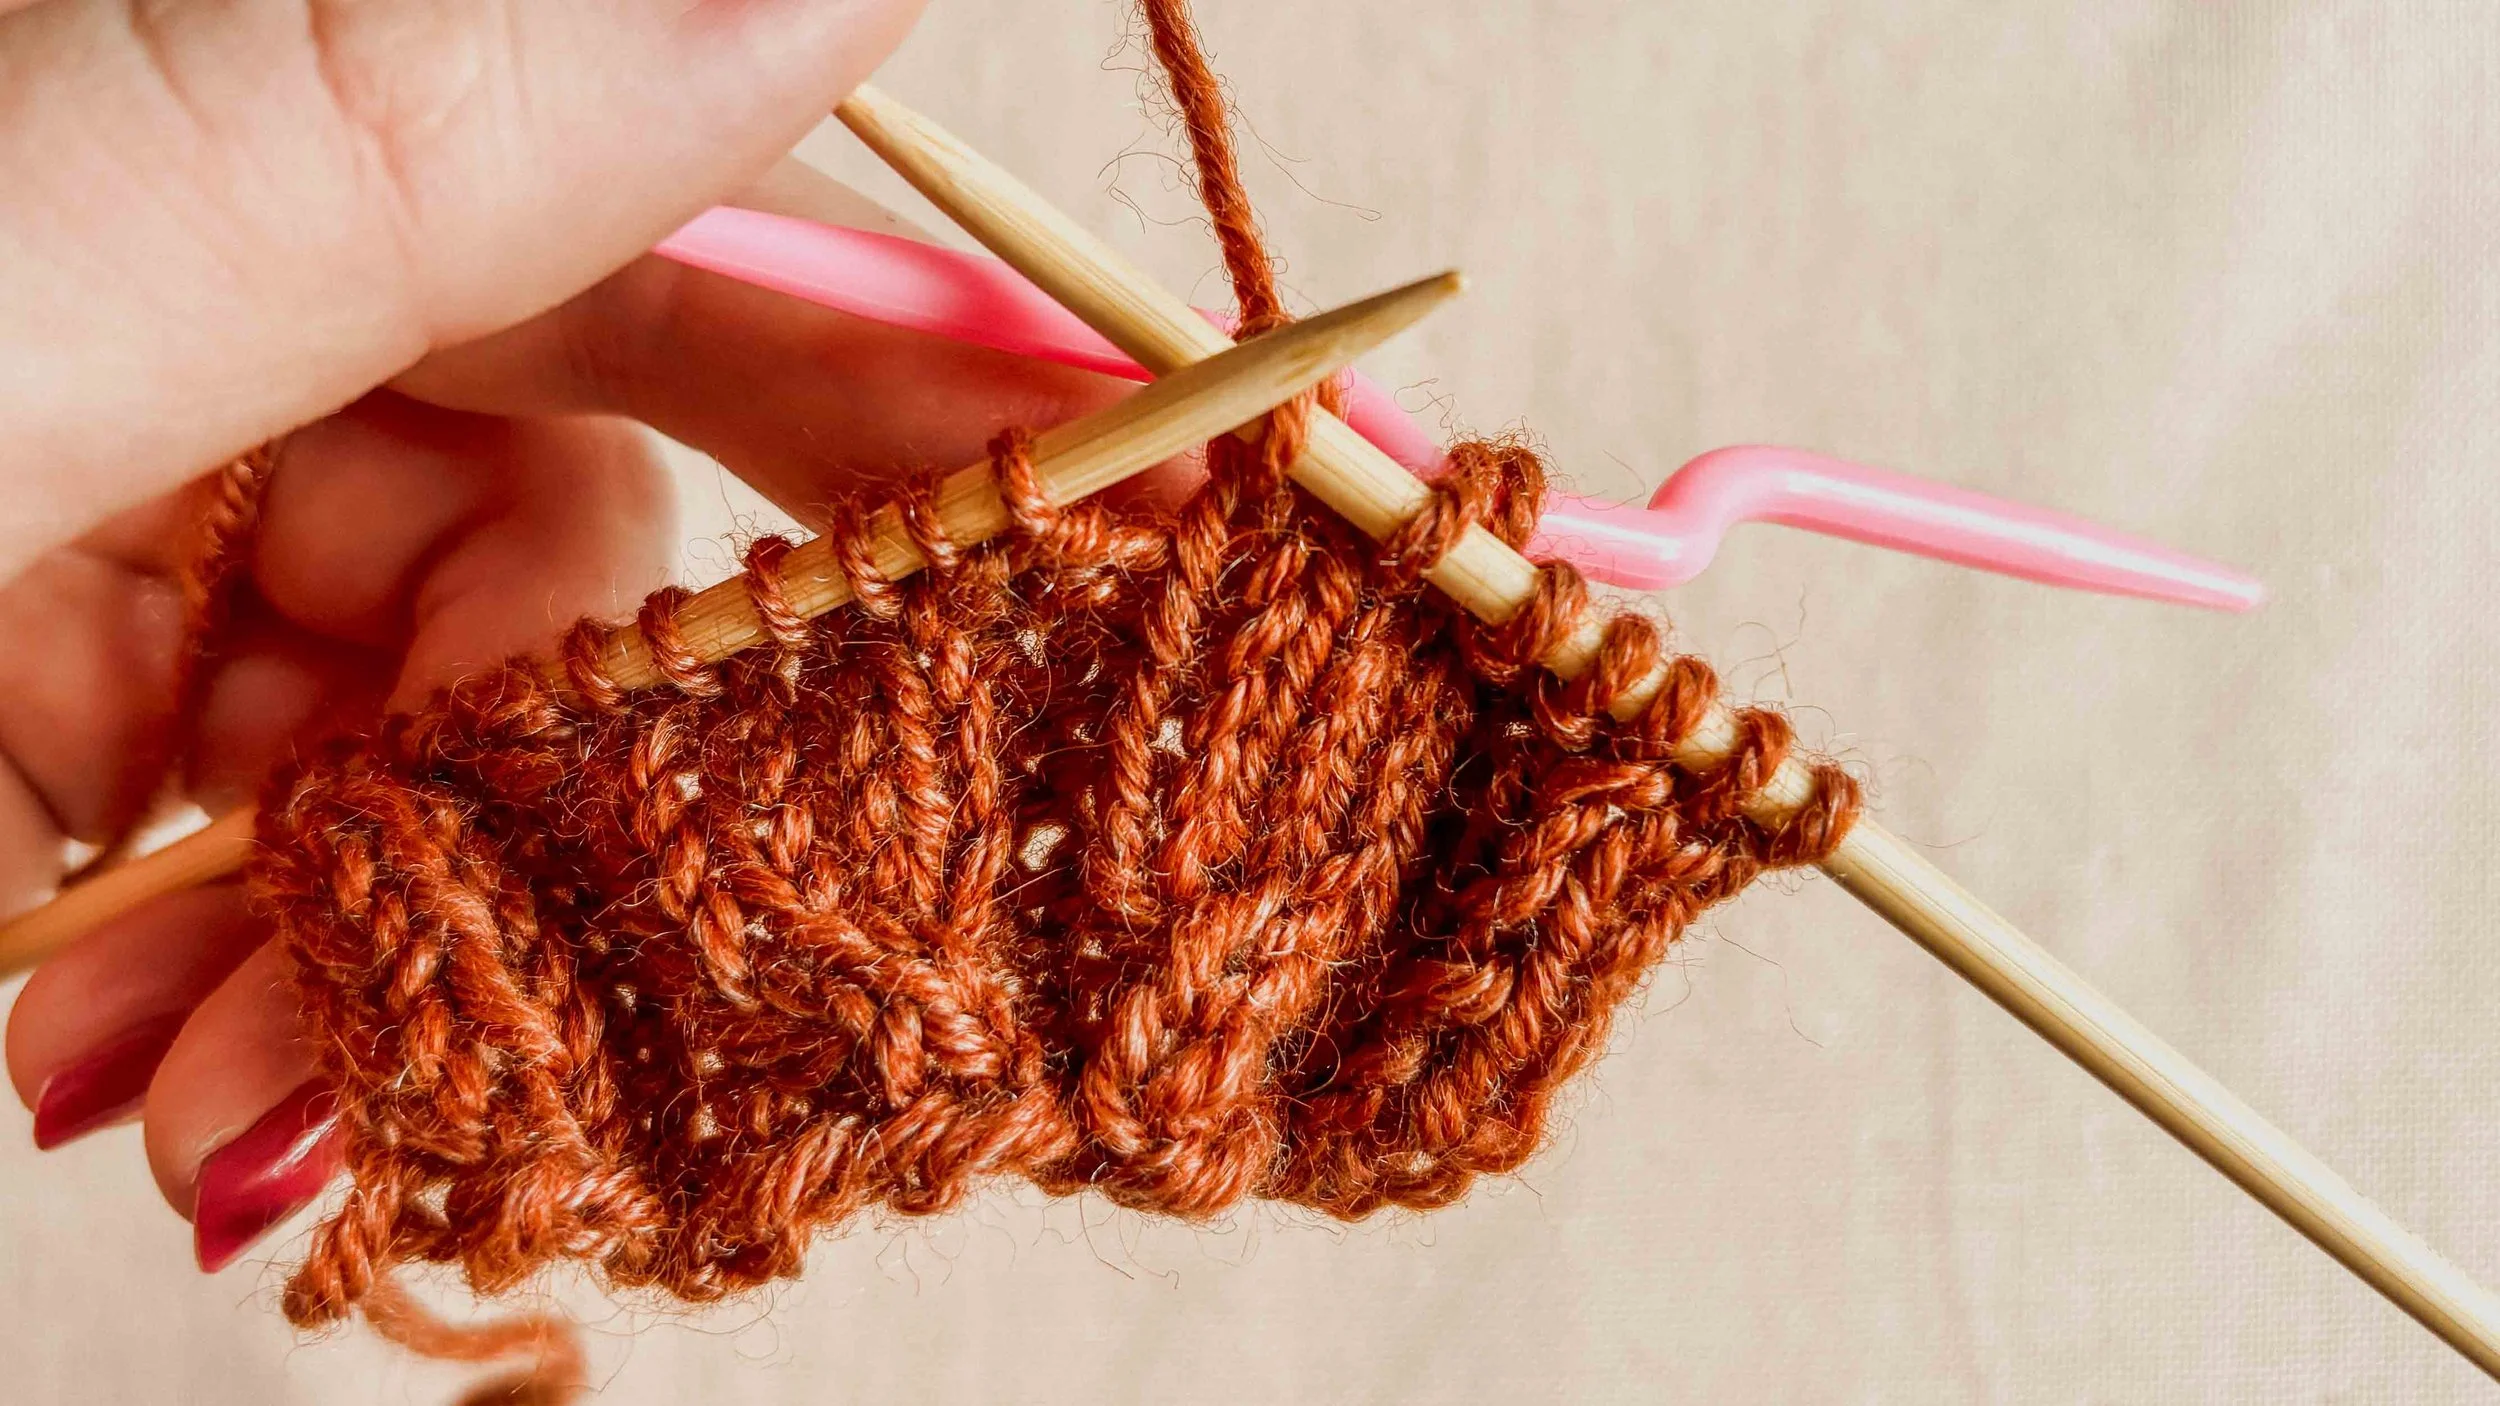
2 - Transfer 2 stitches to a cable needle and hold to the front.
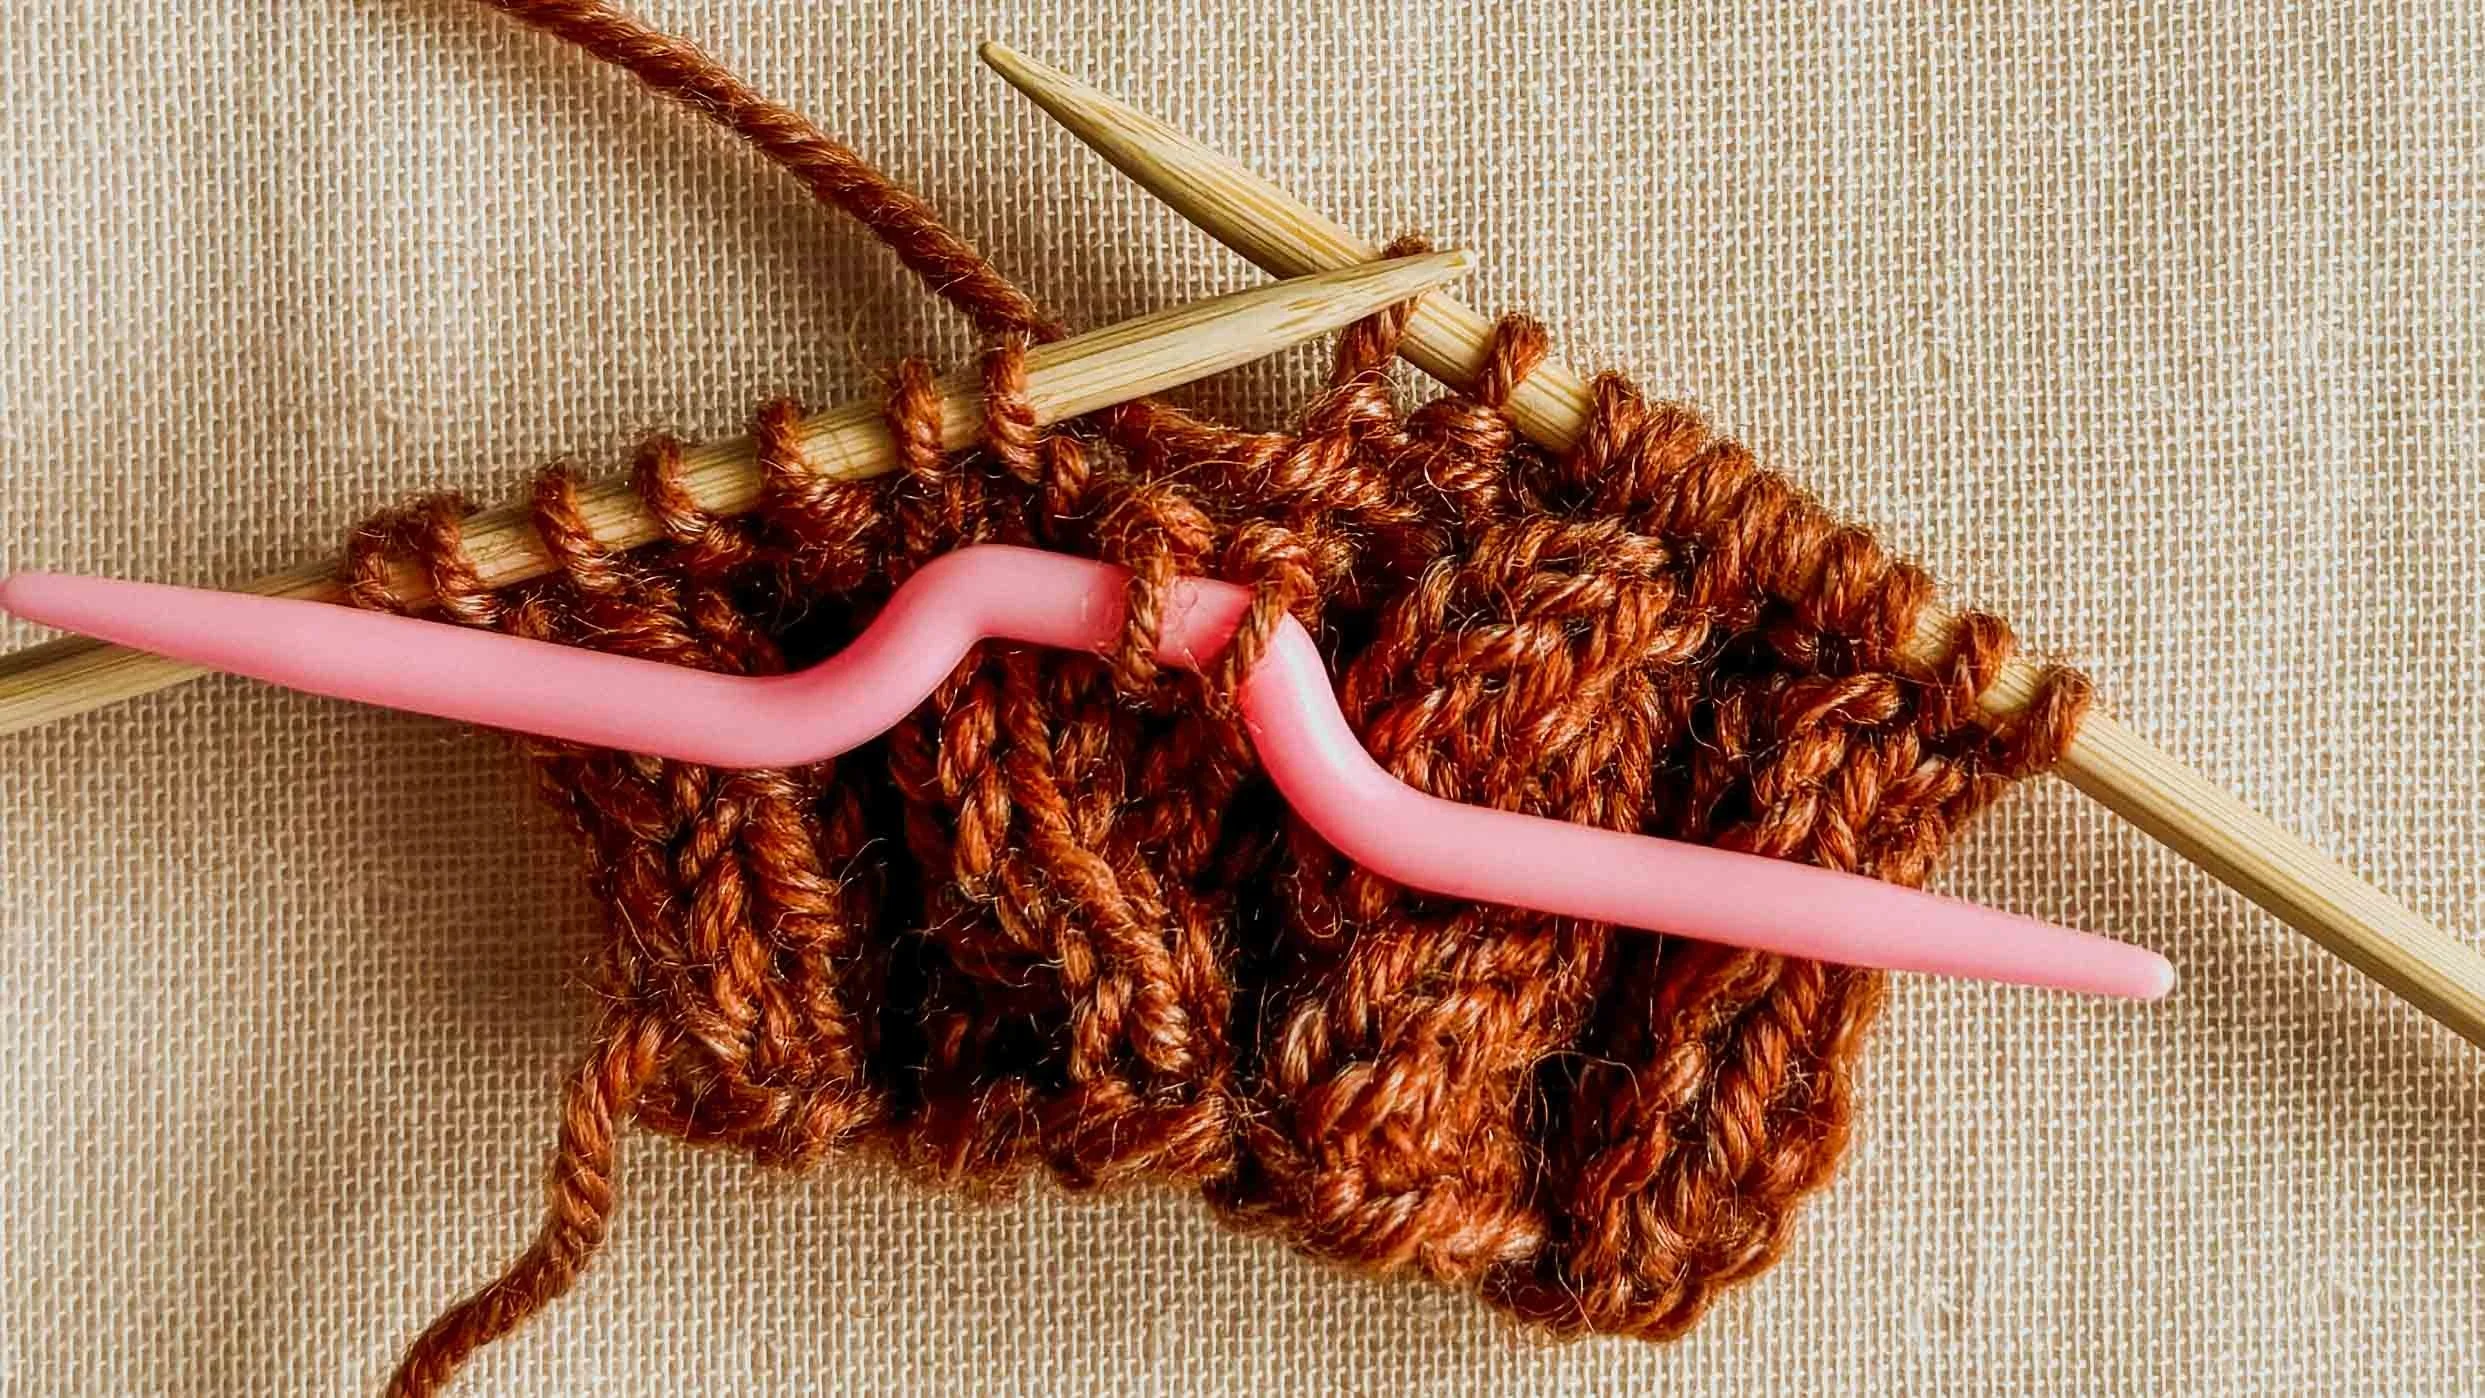
3 - Knit the next 2 stitches.
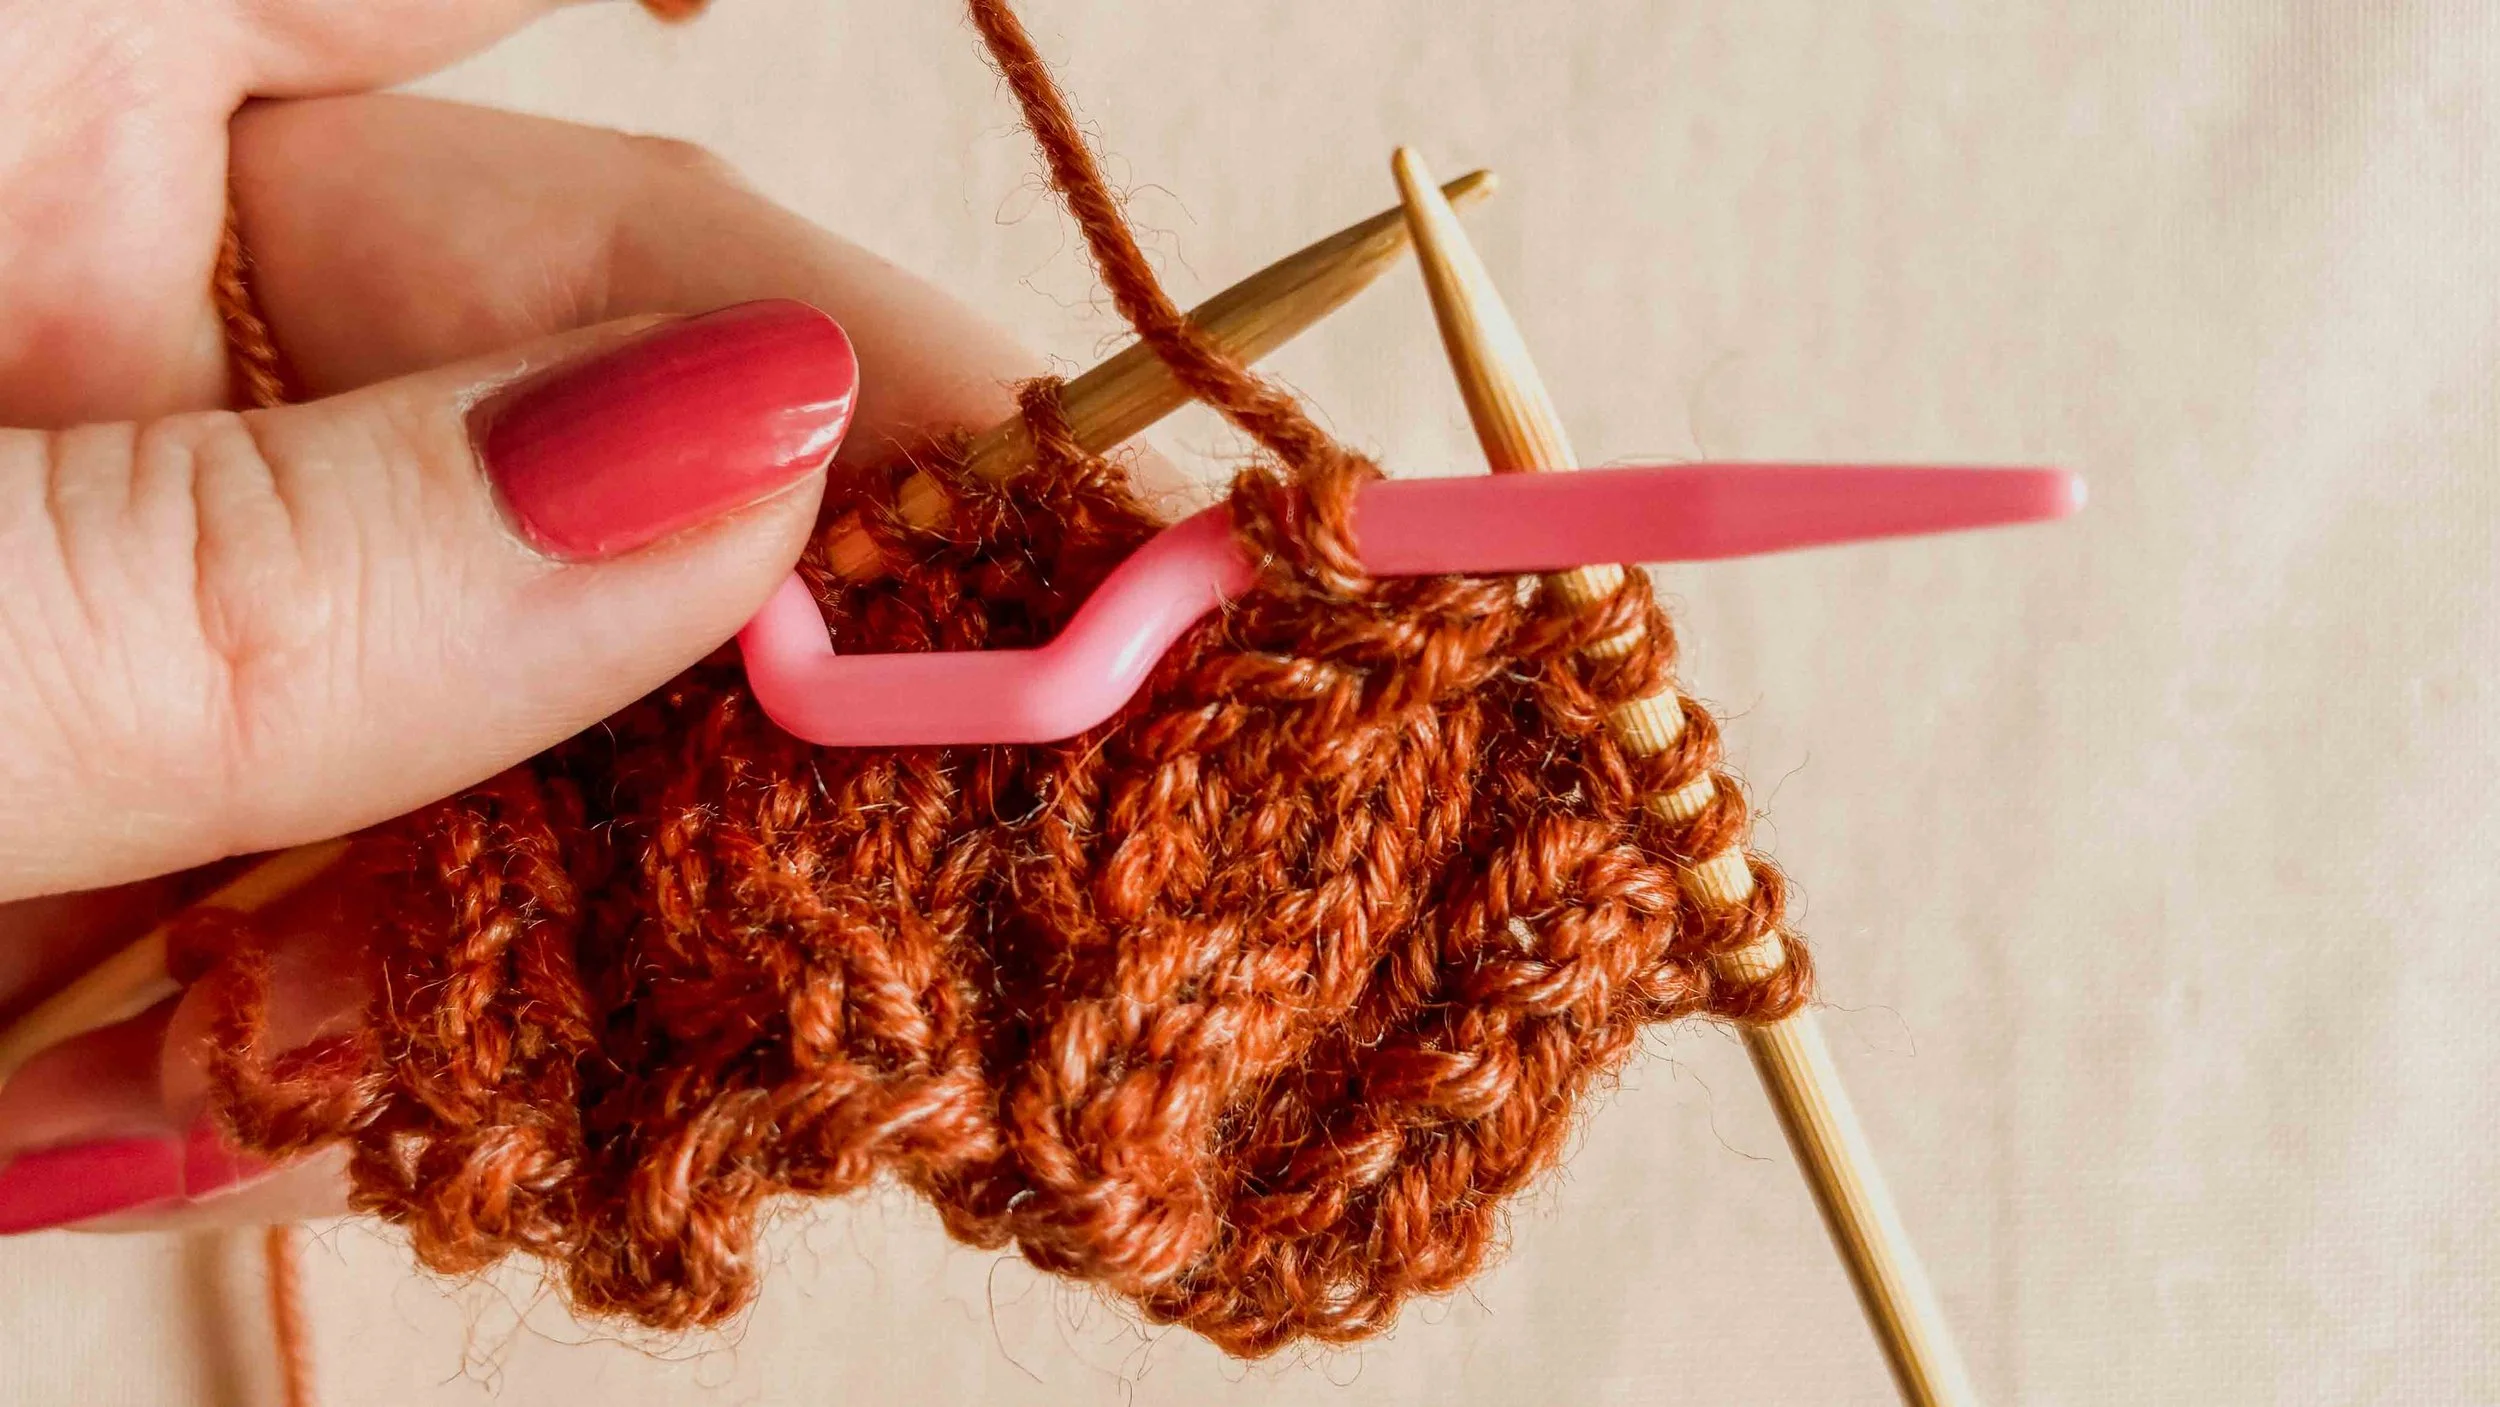
4 - Knit 2 stitches from the cable needle.


5 - Cable is done!
Working Complex Cables
The most basic cables are worked over stockinette stitches. Still, it’s possible to work cables over different stitches - purls or twisted stitches- to create new or more complex cables. The same goes for the number of stitches that make a cable. At a minimum, you need 2 stitches to create a cable, so 1 stitch is crossing over the other, but you can work larger cables too - spanning 8 or 10 stitches or more.
While most popular cables cross half of the stitches over the other half, the cables don’t always have to be symmetrical - meaning, you can have a cable that is 3 stitches wide and cross 2 stitches over one.
Earlier in this post, you followed a detailed tutorial on how to work simple 2/2 stockinette cables, and below, you’ll find a simple recipe on working cables that applies to any type and size of a cable, which will help you to follow any kind of cable you may find in knitting patterns. Notice that the instruction in the recipe says to “work” not to “knit” the stitches. If you’re working a simple stockinette cable, you will knit the stitches, however if you’re working a non-standard cable made up of purls and twisted stitches, the instructions may call to ktbl A, then p B stitches.
No matter what types of stitches are used, work the cables similarly to the photo tutorial, just exchanging the types of stitches and the amounts to cross while keeping the general technique the same.
Abbreviations used below:
A & B - amount of stitches
LC / RC - right cross / left cross
Generally, to make a right-leaning cable A/B RC:
Slip B to cable needle and hold to back. Work A, then work B from CN.
And to make a left-leaning cable A/B LC:
Slip A to cable needle and hold to front. Work B, then work A from CN.
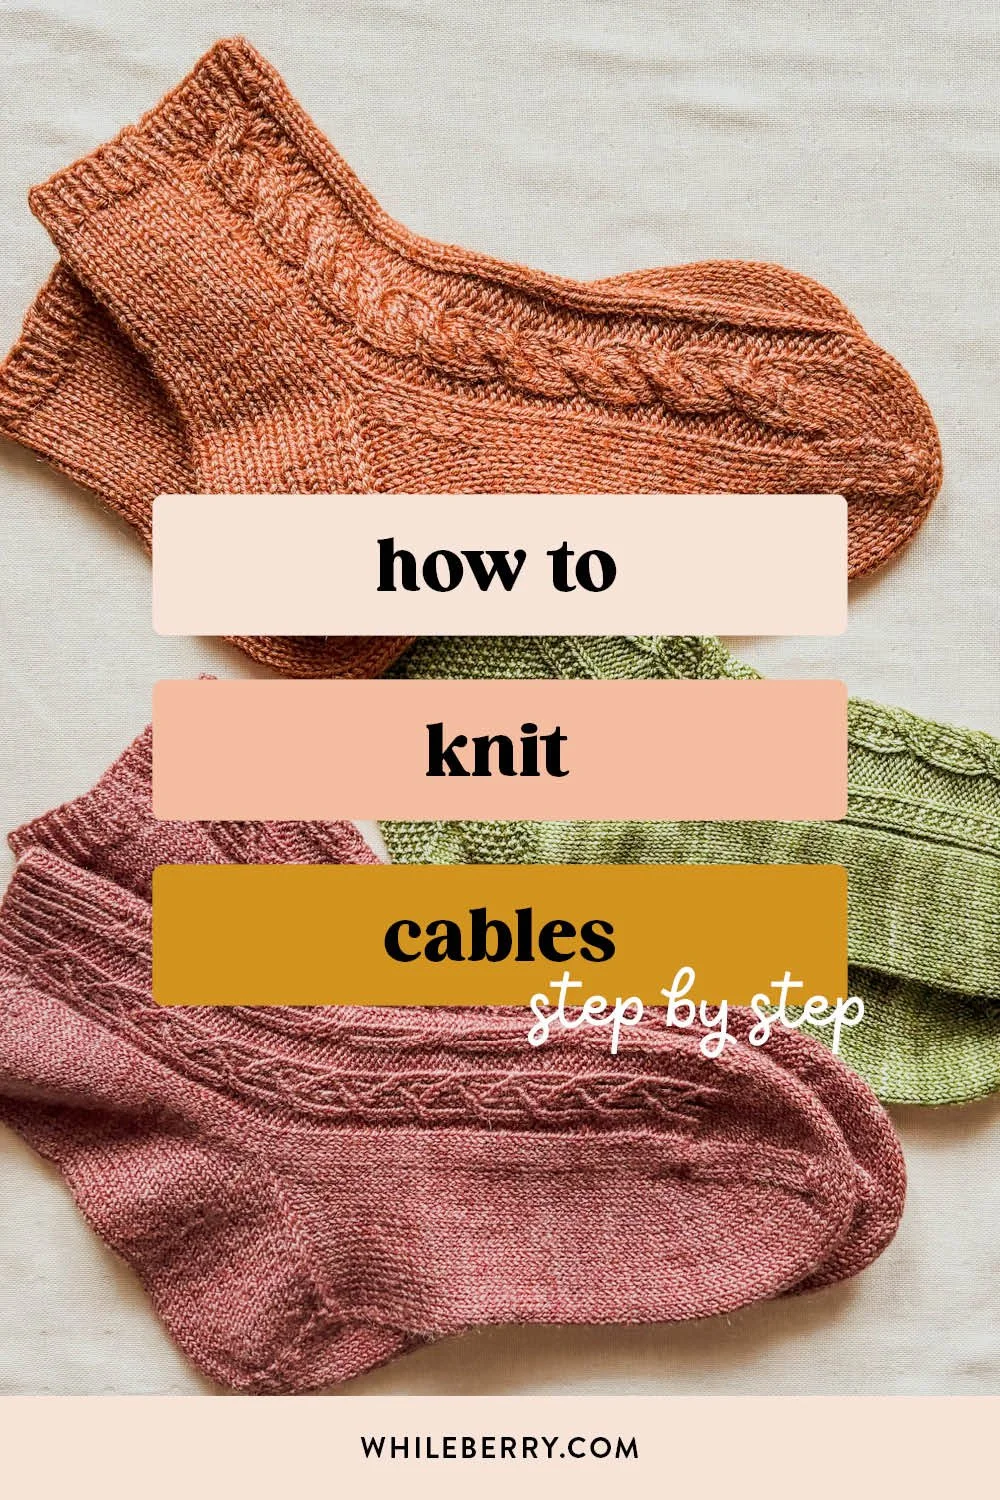
Cable Patterns to Try
Now that you know how to work the cables, you can put this knowledge into practice! Here are a few cable patterns you can try: