How to Make a Slip Knot in Knitting
Do you want to learn how to tie a slip knot for knitting projects? In this quick step-by-step tutorial, I’ll show you how to make a slip knot in an easy way. Read on to learn a simple way for making a slip knot, which you’ll use to start many knitting projects.
Let’s get started!
This post may contain affiliate links that support the content on this blog.
PIN IT NOW & READ IT LATER!
What Is a Slip Knot?
A slip knot is a type of knot that is used to attach yarn to a knitting needle when starting a knitting project in some cast on methods, for example, Backwards Loop Cast On or Long Tail Cast On.
It’s made by tying a loop with yarn, placing the loop on a knitting needle, and pulling it tight. The slip knot creates the first stitch on the needle and counts as a stitch in knitting.
Now that you know what a slip knot is and what it’s used for, it’s time to learn how to make it! It may seem a bit daunting at first, but with a few tries, you’ll be making a slip knot in no time!
Tools and Supplies You Need to Make a Slip Knot
Everything you need to make a slip knot is some yarn and your fingers!
Yarn Ends Explained
Before we get started with making a slip knot, let’s talk about the yarn ends. This will help you follow this tutorial and other beginner tutorials easier.
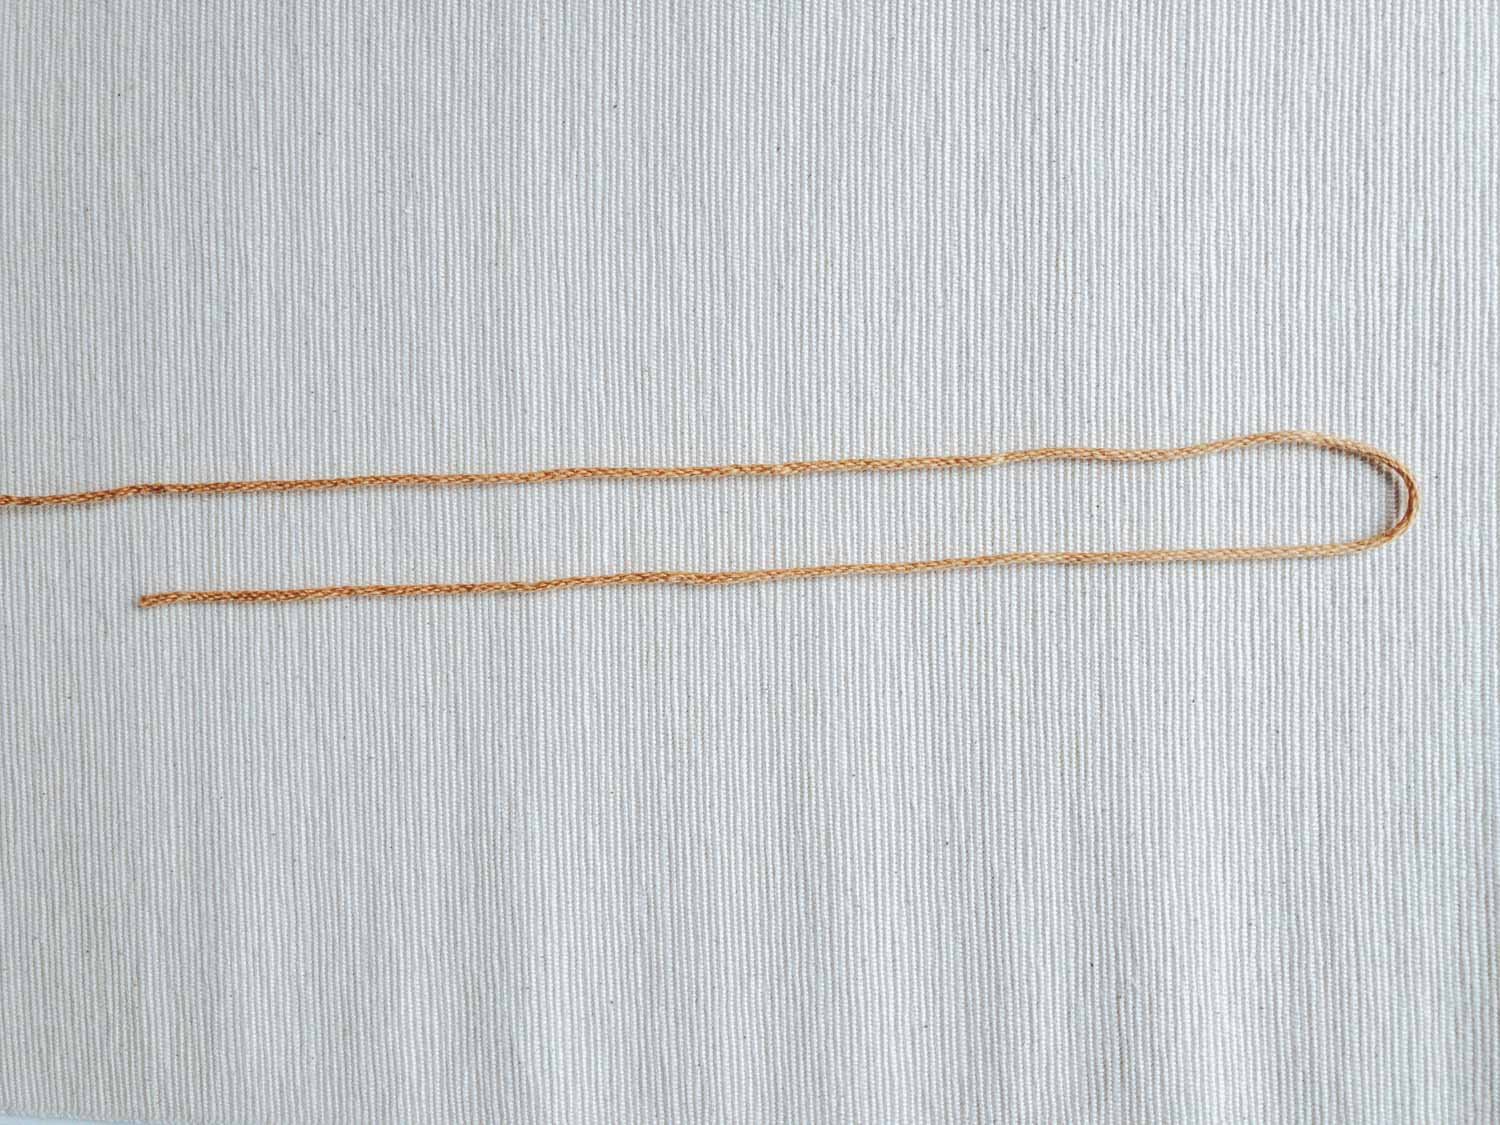
We’ll often refer to two yarn parts - the ball yarn and the yarn tail. Pull up a bit of yarn and place it on a table. The end of the yarn that leads to the ball is called the “ball yarn” or “ball end”, and the actual end of the yarn strand is called the “tail end”.
How to Tie a Slip Knot
1. Pull a length of yarn from the yarn ball.
The length to pull will depend on the cast on you’d be using. If you’re using a single strand cast on, like Backwards Loop Cast On or Knitted Cast On, pull up around 15 cm (6”). If you’re using a two-strand cast on, like Long Tail Cast On, pull up enough of the length of the yarn needed to cast on all your stitches.
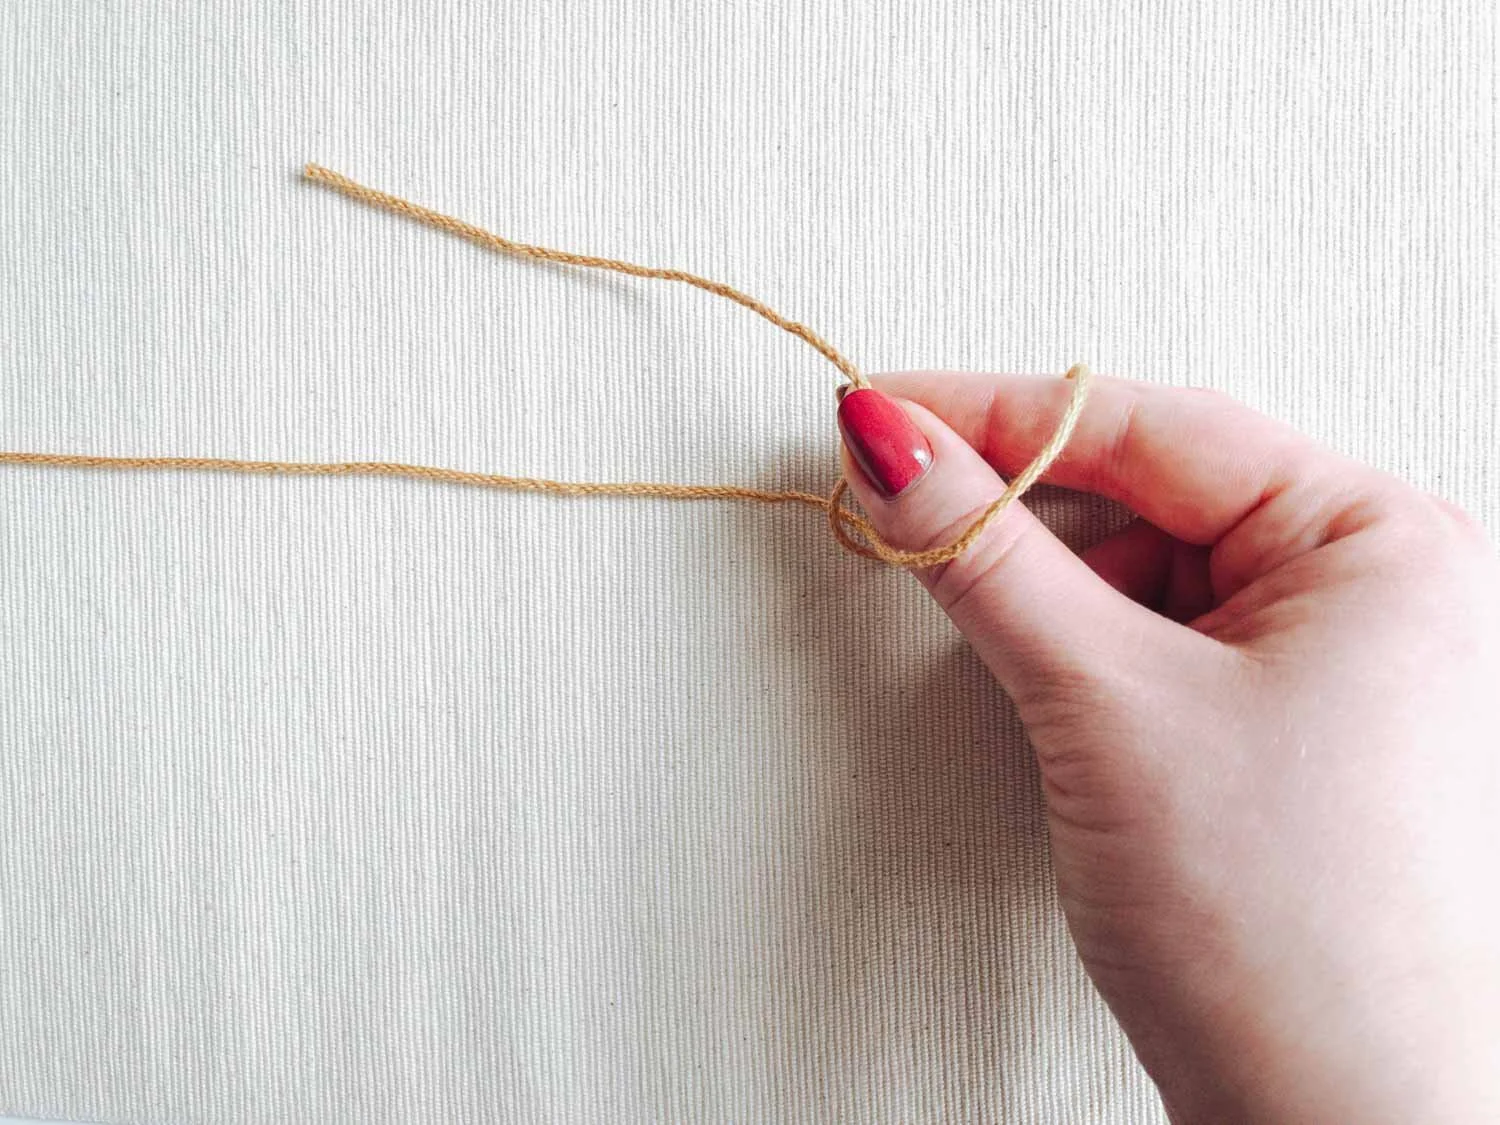
2. Make a loop crossing the yarn tail on top of the ball yarn end
3. Insert your thumb and index finger into a loop
4. With the fingers inside the loop, pinch the yarn tail
5. Pull the yarn tail through the loop
6. Tighten the loop slightly
7. Place the slip knot on the knitting needle
The slip knot is finished and you can start your cast on!
MORE BEGINNER KNITTING TUTORIALS:


