How to Do the Knitted Cast On in Knitting
Knitted Cast On is a simple and straightforward cast on method, often chosen by beginners because of its simplicity and how similar it is to making a knit stitch. In this post we’ll look at what materials you’ll need to learn this cast on, step-by-step instructions and a few tips on working with this technique.
This post may contain affiliate links that support the content on this blog.
PIN IT NOW & READ IT LATER!
About the Knitted Cast On
The Knitted Cast On creates a slightly stretchy edge. It’s worked with just one strand (no measuring the yarn tail!) and is similar to the technique of knitting a stitch, so if you already know how to do the knit stitch, it’ll be a breeze to learn this cast on. Unlike many other cast ons, this technique uses two needles to cast on stitches.
Tools and Supplies for Learning the Knitted Cast On
The only supplies you’ll need for this tutorial are: yarn and knitting needles.
I truly recommend wool or acrylic yarn in a light color, in worsted weight (category medium). Make sure to choose smooth yarn, so you can see your stitches clearly.
Choose knitting needles in size appropriate for your chosen yarn weight, you can use the yarn label as guidance. These can be any needles type - circular or straight.
Essential Knitting Terms
In this tutorial we’ll refer to “working yarn”. If you haven’t heard about this term yet, pull up a length of yarn and place it on a table. The end of the yarn that leads to the ball is called the “working yarn” or “ball yarn”, and the actual end of the yarn strand is called the “tail end”.
Knitted Cast On Step-by-Step Tutorial
The last technique we’ll look at is the Knitted Cast On. This cast on is very similar to working the knit stitch - so if you already know how to do the knit stitch, it should be easy to learn!
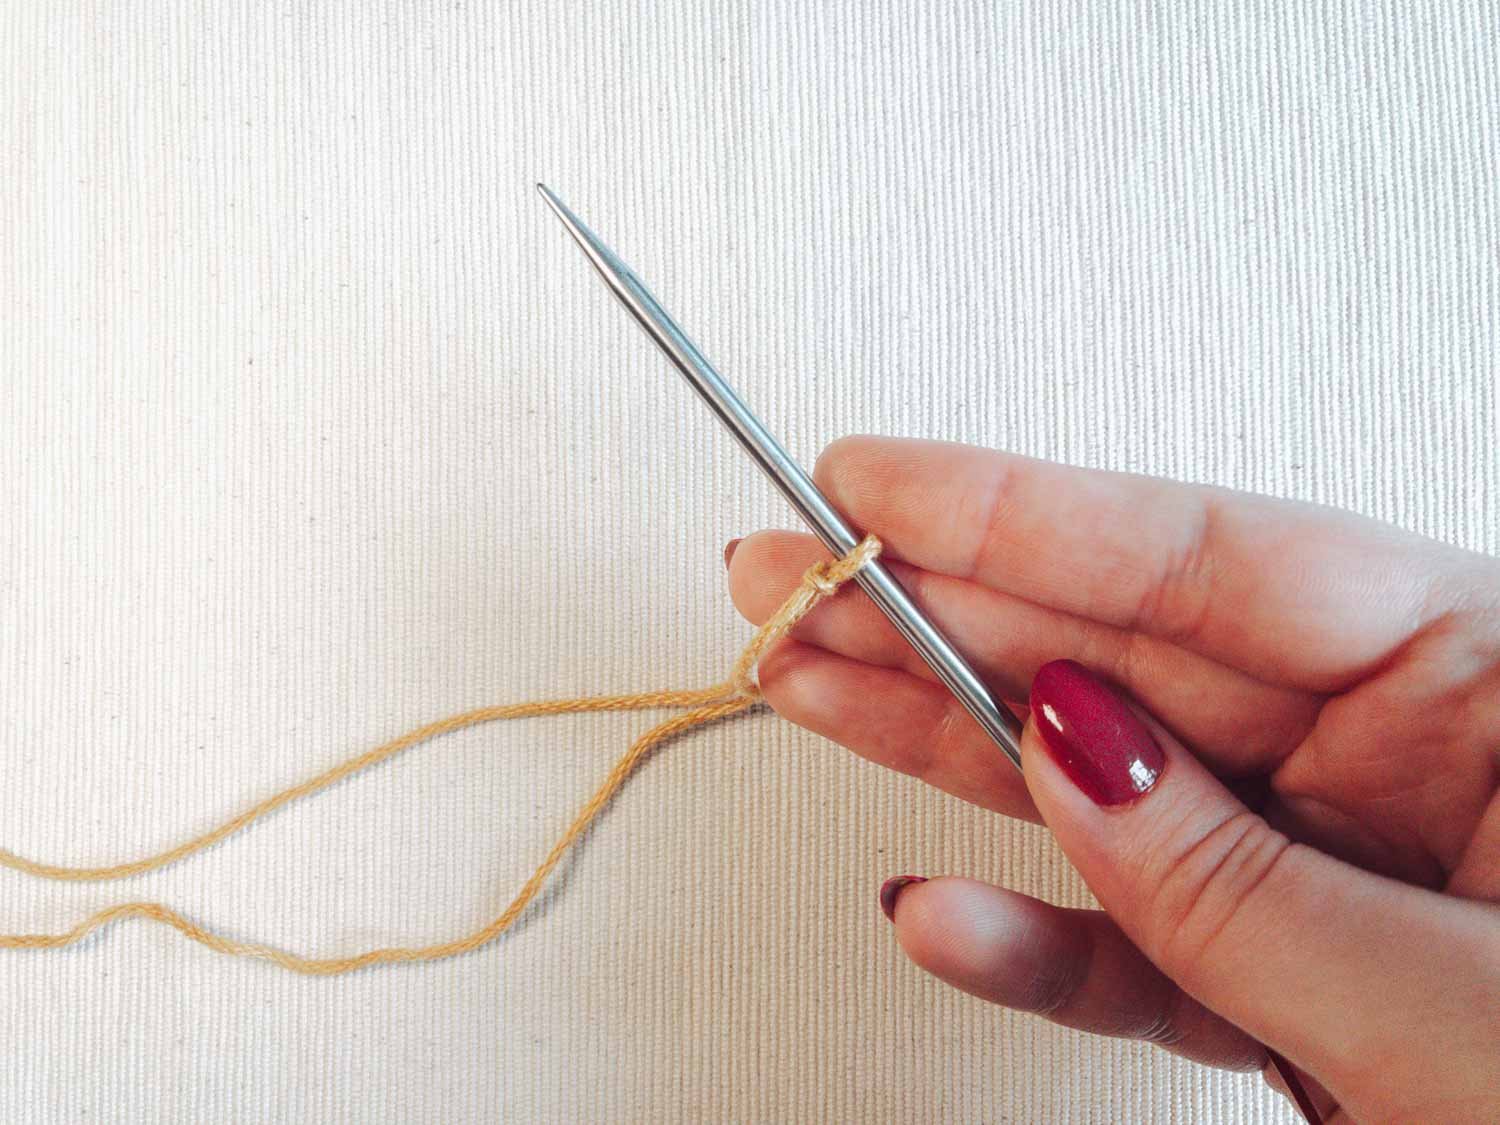
1. Make a slip knot and place it on the needle.
When making a slip knot, leave at least 15 cm (6”) long yarn tail to weave in later.
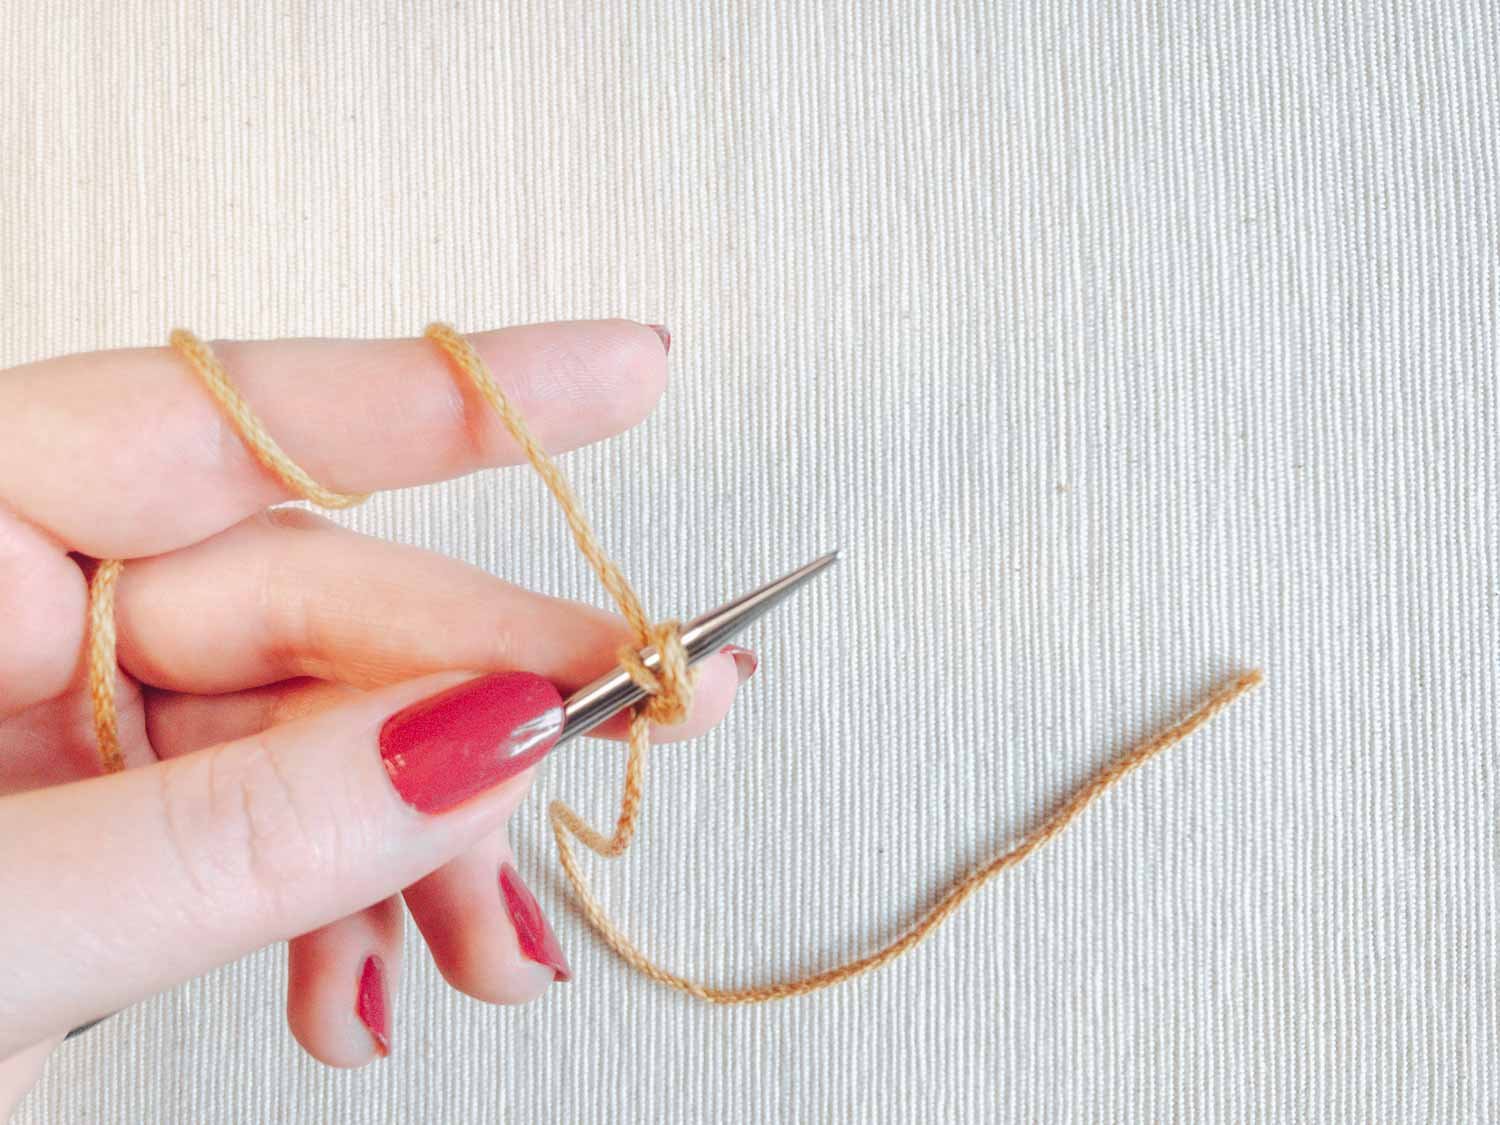
2. Hold the yarn
If you’re right-handed, keep the needle with the slip knot in your left hand and an empty needle in your right hand. Wrap the working yarn around your left-hand fingers to maintain tension.
3. Make the first knit stitch
Insert the needle into the slip knot from left to right - as if to knit.
Move the right-hand needle under the working yarn so the strand wraps around the right-hand needle counterclockwise.
Use the right-hand needle tip to pull the yarn through the slip knot.
4. Place the stitch on the left needle
Place the new stitch on the left needle, simply slipping it from the right to the left needle.
You just cast on your stitch! You should have two loops on your needle: the slip knot and the newly cast on stitch. To cast on the next stitches, repeat steps 3-4 until you cast on as many as you need.
Starting the First Row of Knitting
After you finish your cast on, you’re ready to start working on your project - you don’t need to turn your needle - your stitches and working yarn are already in the correct position to start working the first row!
Tips for Knitted Casting On
Remember that the slip knot loop counts as a stitch when counting your stitches.
As with any cast on, don’t cast on your stitches too tight.
To avoid casting on stitches too tight, you can try using a larger needle size for the cast on, or two needles held together, then remove one needle after finishing the cast on and work as usual.
Make sure you cast on the stitches on the body part of the needle, not just the tapered tip. If you cast on the stitches on the tip, they will be tight and you will have trouble sliding them on the needle.
On the other hand, if your cast on stitches are very loose and uneven, try casting on with a smaller needle.
MORE KNITTING TUTORIALS:


